This post may contain affiliate links. Please read our disclosure policy.
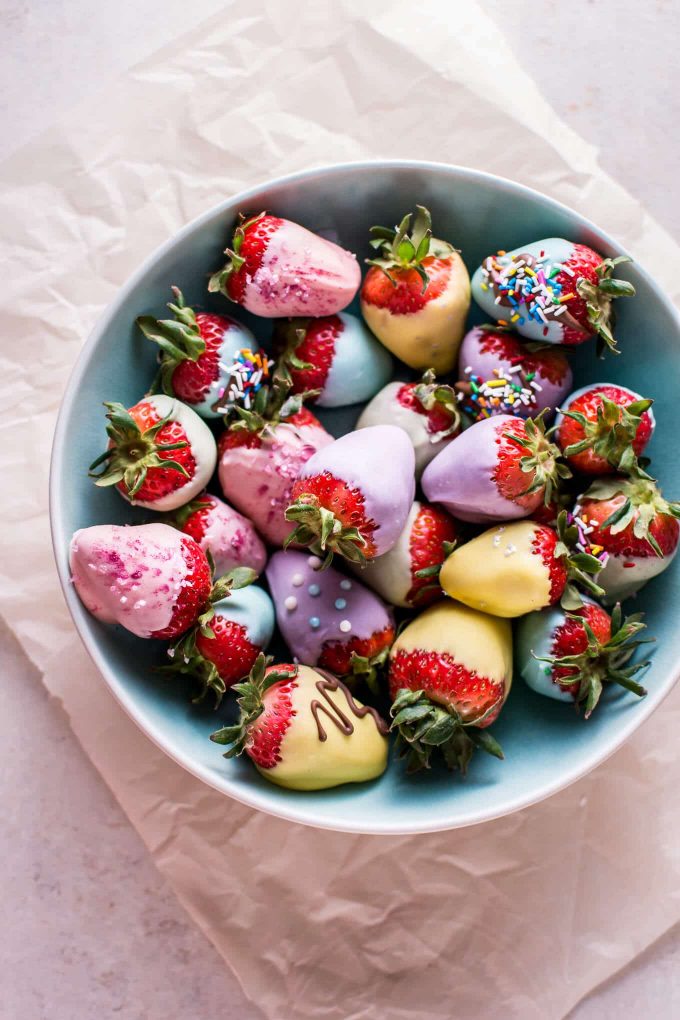
My Easter chocolate covered strawberries are an easy and fun sweet treat that adults and kids will love.
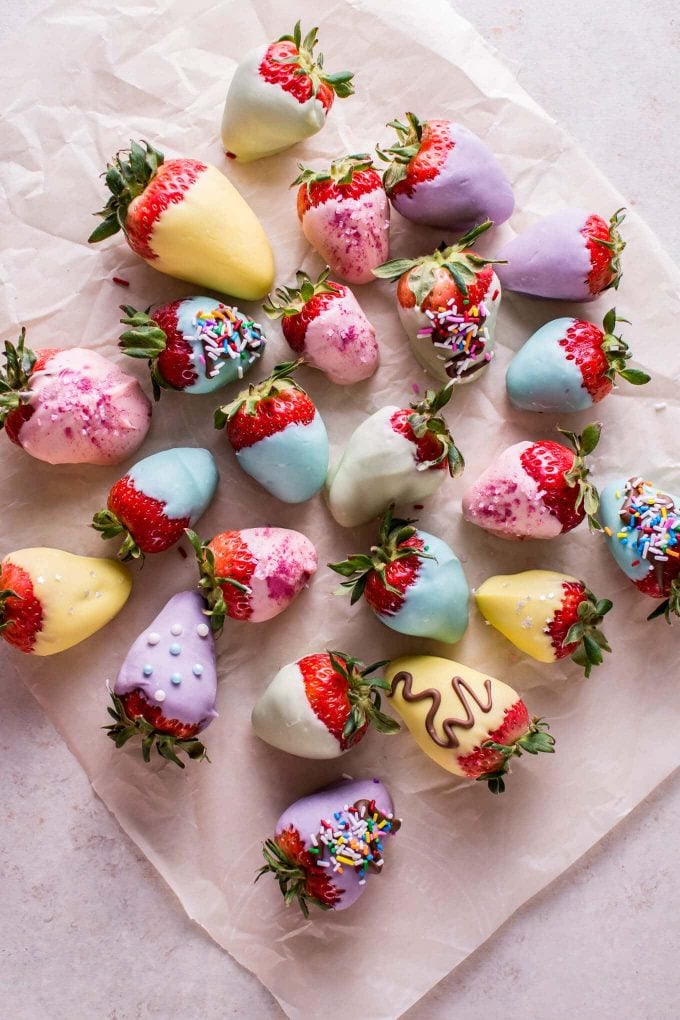
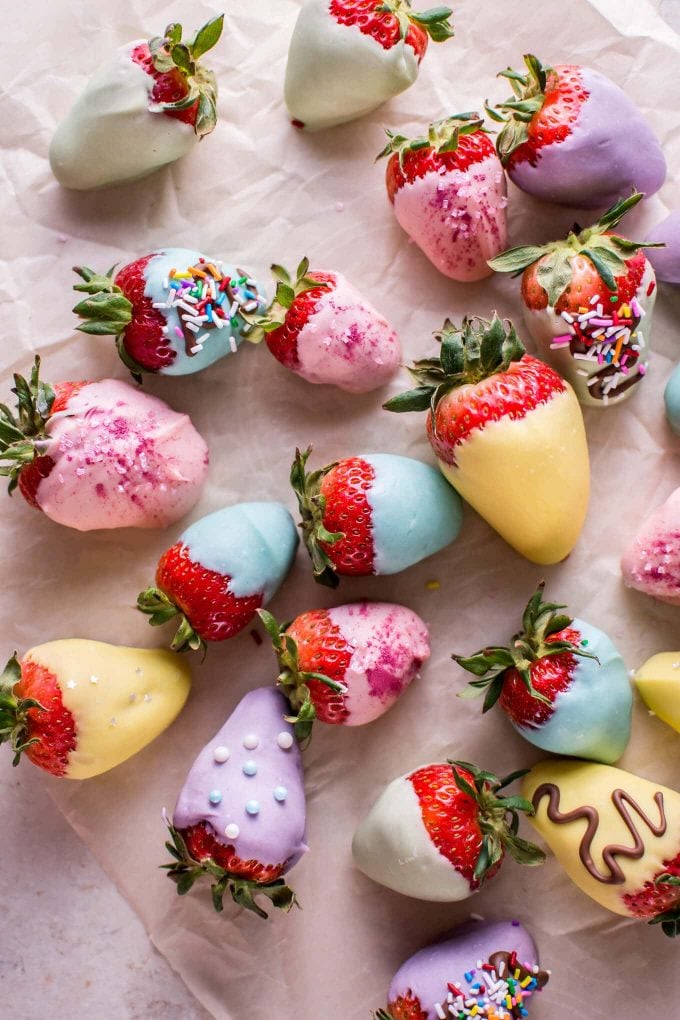
It’s easy to make the pastel colors, and creating these chocolate-dipped strawberries isn’t too time-consuming either.
Chocolate dipped strawberries are one of my favorite sweet treats. I don’t have a big sweet tooth, but there’s just something special about these things.
I don’t make them at home very often (yeah I shell out for one or two at fancy chocolate shops. Don’t judge me!), but I had this idea for pastel-colored ones for a while now.
What better occasion than Easter when pastels seem to be everywhere??
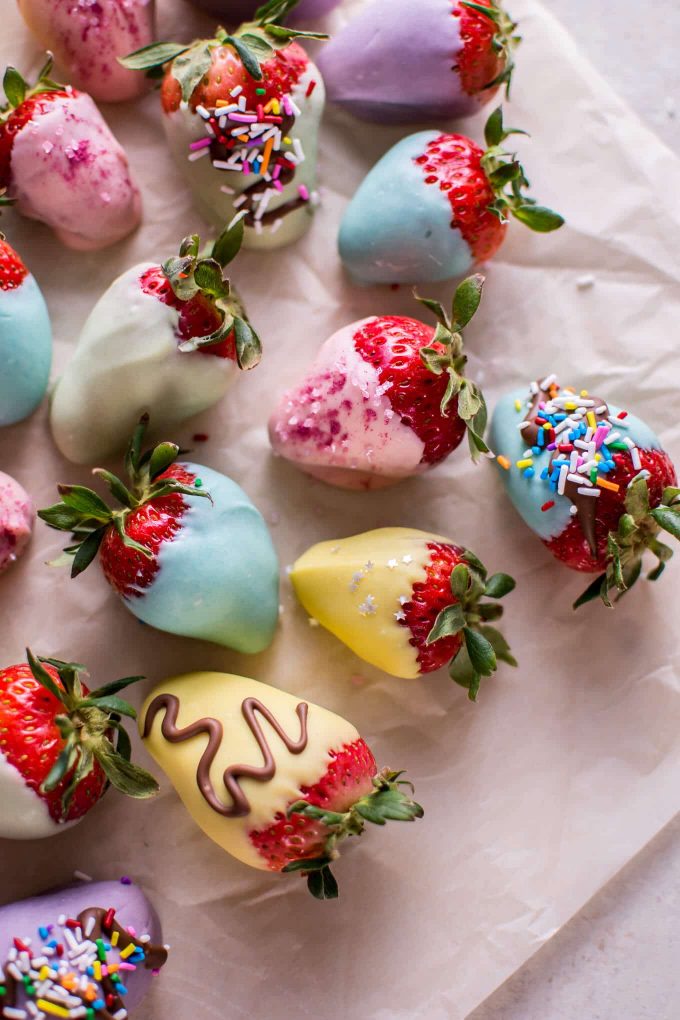
You don’t have to decorate them as brilliantly as I did. Just kidding. I have the decorating skills and patience of a four year old.
Sparkles and edible glitter always call my name, and I just sort of chuck it on. You have to have some fun, right?
A few tips for making these:
- I add couple of drops of olive oil into the chocolate once it’s melted. I heard this tip a while ago. It helps to give the chocolate a nice luster, and it also makes the chocolate crack a bit less.
- Make sure the strawberries are dry before you dip them into the chocolate (I dry each strawberry off with paper towel).
- Work with one color at a time. The chocolate becomes harder to work with as it cools.
- Use gel food coloring because the water-based kind can make the chocolate seize up.
- Melt the chocolate in your microwave in 30 second intervals (stir before you put it back into the microwave). This is by far the easiest method for melting the chocolate when you’re using so many different colors.
Will you make these Easter pastel chocolate covered strawberries?
Questions? Let me know!
Easter Chocolate Covered Strawberries
Ingredients
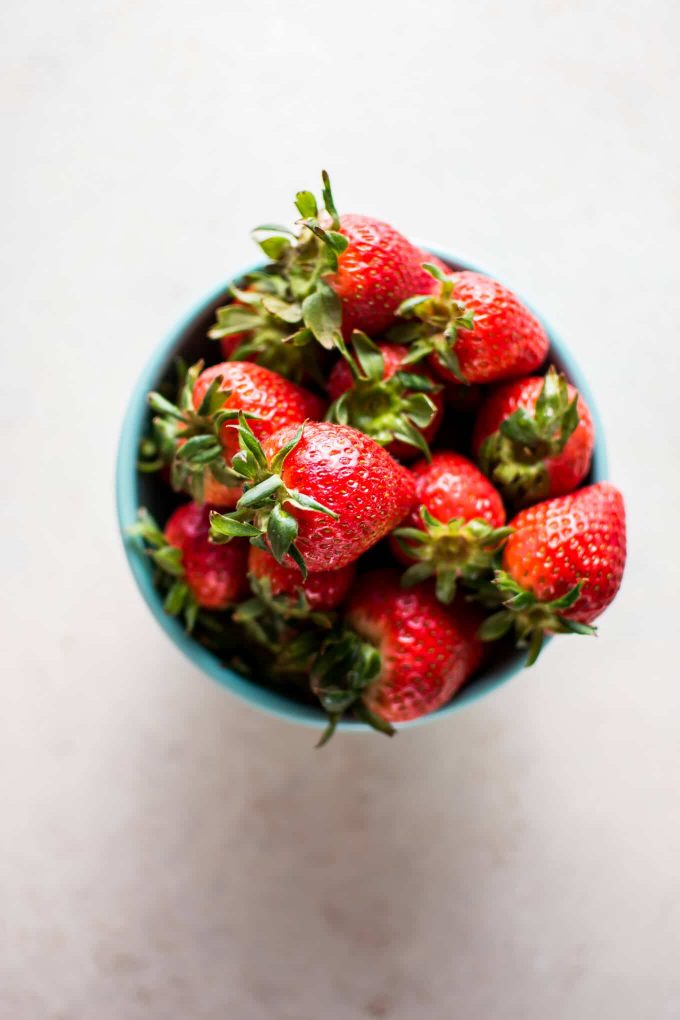
- 1 pound strawberries
- White chocolate chips
- Gel food coloring
- Olive oil
- Sprinkles or other decorations (optional)
- Milk or dark chocolate chips (optional)
Instructions
- Line a baking sheet with tin foil for easy clean-up. Get a small bowl out for each color of chocolate you plan on using (I used 5 bowls).
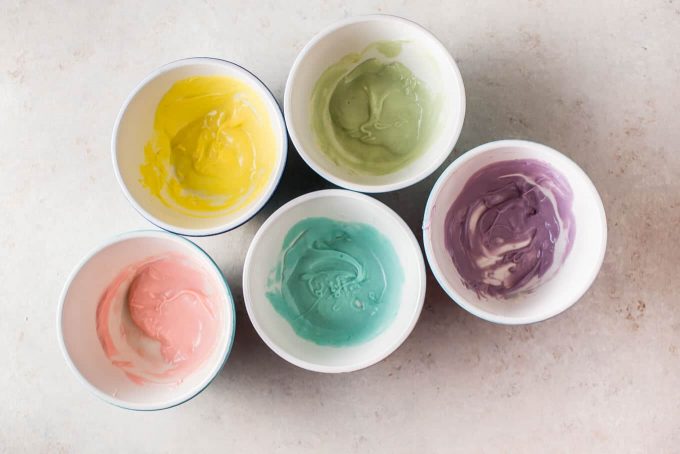
- Add about 1/3 cup of white chocolate chips to each bowl (see note section below if you're not working with 5 colors). Working with one bowl at a time, microwave it in 30 second intervals, stirring in between, until the chocolate is fully melted. Stir in a couple of drops of olive oil and a drop or two of food coloring. Adjust color as needed. Dip the strawberry and turn it in the chocolate until it's evenly covered. If you've never done this before, it gets better with a little practice. Place the strawberry on the baking sheet and be careful not to move it. Repeat for each strawberry that you want to be that color.
- Repeat the above process with each color.
- Once your strawberries are covered in chocolate, if desired, add sprinkles, edible glitter, or luster dust (I picked some up in a baking supply shop - that's what's on the pink ones), and/or a drizzle of milk or dark chocolate to some/all of the strawberries. To drizzle the chocolate, I simply melted some milk chocolate chips then added it to a small Ziploc, snipped off the corner, and piped it onto the strawberry.
- Place the baking sheet in the fridge and let the strawberries set for at least a couple of hours. Once they're set, put them in an airtight container. They should keep in the fridge for 2-3 days.
Notes
- I had a total of about 25 strawberries and did roughly the same amount of strawberries in each color. Keep this in mind when figuring out how much white chocolate to add to each bowl. You should have enough chocolate in there that it's easy to dip the strawberries and the chocolate isn't too spread out. I used fairly small bowls for this reason, and 1/3 cup of white chocolate was enough to comfortably dip 5-6 smallish strawberries with a little bit left over.
© Salt & Lavender Inc. Content and photographs are copyrighted. Sharing this blog post is much appreciated, but copying and pasting full recipes without authorization to social media is strictly prohibited.










Thanks for sharing
You’re welcome!
Hi Natsaha, Awesome Color combinations. featured image easily attracted me to view this post first instead of others. Looks very yummy.
Thanks!
Gorgeous! I love these. Thanks for the inspiration!
You’re welcome! Hope you love them.
OMG I’m dying over how pretty these are!!! Such a healthy, fun alternative to your normal Easter chocolate haul, and a great activity for Good Friday – if I can make myself take the day off that is 😉 I agree with you, these are totally perfect for kids AND adults!
Thanks Taylor!! It’s totally fun. ????
These are absolutely adorable! And your pictures are so beautiful (:
Aww thank you!
I just love the creativity and the mixtures of colors in this recipe. Something for kids to really enjoy in the Easter while trying to look for those colorful Easter eggs.
Not only that, seeing that it’s strawberries makes me want to recommend it as healthy finger-food alternative from the usual fries, chips, and calamari.
Thanks for sharing this sweet recipe!
Thanks!
Thank you very much going to try, i love tye colors
Thanks, Sandy! I hope you like them!
Hey Natasha,
You did a fantastic job with strawberries. Nice creativity with different frosting and topping. Love to try at home.
Thank you.
Thank you!
Wow. Happy colors, very nice! Good idea. Thanks for sharing
Thanks!
How pretty Natasha! Perfect for Easter. A fun activity for kids to do too!
Thank you!! It was quite fun. 🙂