This post may contain affiliate links. Please read our disclosure policy.
This tasty, golden, tender-crisp roasted cauliflower recipe is the definition of a hassle-free side dish that goes with everything! A couple of pantry staples make it effortless.
Big fan of cauliflower? Try my Easy Creamy Cauliflower Soup or Roasted Mashed Cauliflower next.
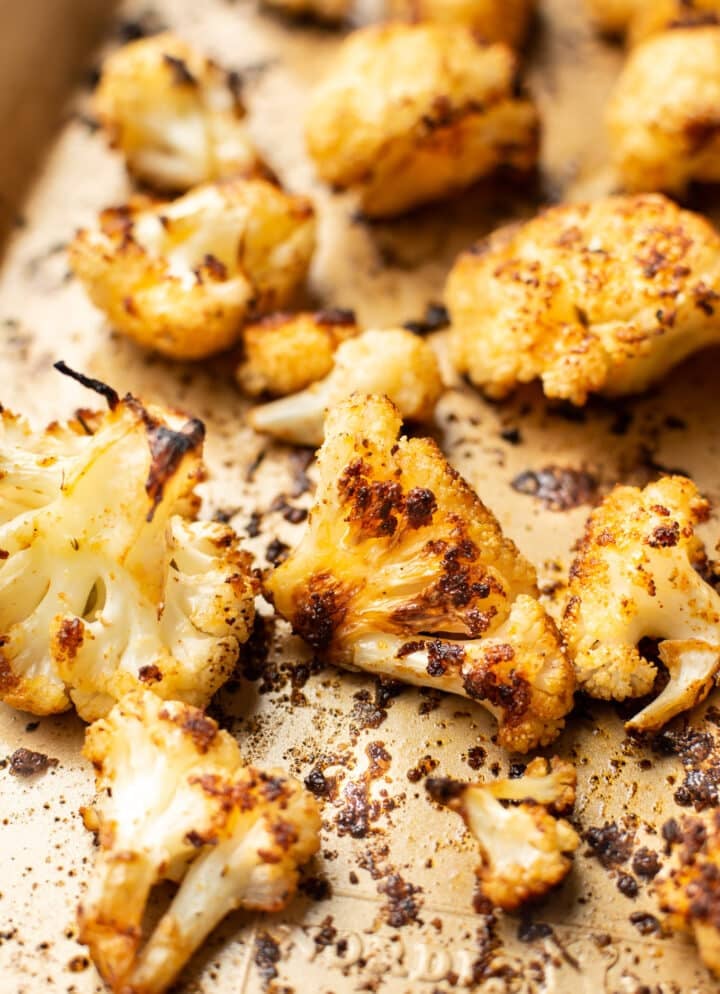
Why you’ll love it
I’ll be the first to admit cauliflower doesn’t exactly thrill me. In fact, I often describe boring things as being “as exciting as boiled cauliflower”. However, something magical happens in the oven to elevate this humble vegetable into an irresistible caramelized side dish! It’ll make you change your mind about cauliflower.
I mean, who can resist those crispy, charred edges? This oven roasted cauliflower is herb forward, garlicky, and has a special addition of smoked paprika to set it apart from other cauliflower recipes out there. It’s a game changer.
What you’ll need
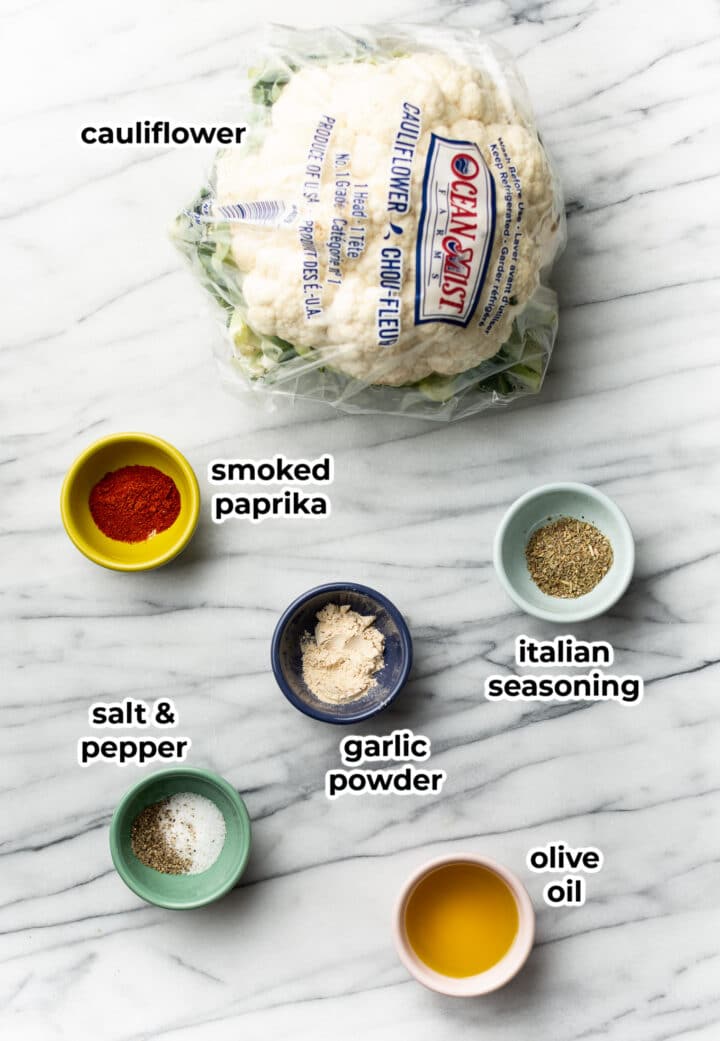
- Cauliflower – roasting cauliflower brings out its natural nutty, sweet quality. We’re using a head of cauliflower cut into florets. It’s a healthy veggie with plenty of vitamins and nutrition and fiber.
- Olive oil – for moisture and getting that delicious slightly crisped up exterior
- Salt & pepper – it’s crucial to be generous with salt for cauliflower to bring out the flavor
- Garlic powder – an easy way to infuse garlic flavor without worrying about scorching fresh garlic in the oven
- Italian seasoning – this dynamic blend of dried herbs comes all in one jar
- Smoked paprika – my not-so-secret ingredient for added warmth and flavor
Pro tips
- Browning the cauliflower nicely at a high heat is key to bringing out the flavor and getting the texture perfect. If your oven isn’t hot enough, you’re likely not going to end up with the desired results.
- Dry the cauliflower thoroughly and don’t overcrowd the florets, or they may end up soggy.
- Everyone has a different preference for how well they like their cauliflower roasted. I adore some charred bits, so I err on the side of longer cooking time. You may need to do a little experimenting with timing and your particular oven to make this recipe your own!
How to roast cauliflower
This is an overview with step-by-step photos. Full ingredients & instructions are in the recipe card below.
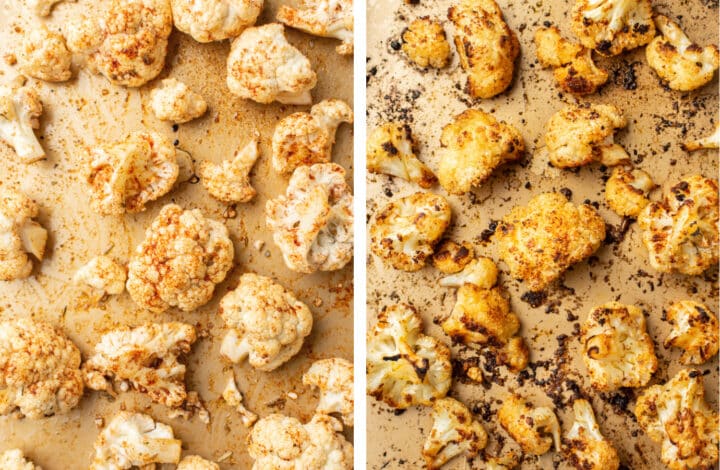
Preheat the oven to 425F. Cut the cauliflower into fairly similar sized florets for even roasting. Place on a baking sheet, toss with the oil and seasonings, and roast until tender and golden, turning at the halfway point. Top with a squeeze of lemon and/or fresh parmesan if desired.
Tools for this recipe
Check out Natasha’s favorite kitchen essentials, gadgets, and cookware!
- The main tool you’ll be needing is a half size baking sheet for this one.
- To cut the cauliflower into florets with ease, try using a sharp chef’s knife.
- If you choose to grate fresh parmesan on top, you’ll want to use a Microplane zester for that perfect dusting.
Substitutions and variations
- The seasoning options are virtually endless, so you can definitely have fun experimenting and trying different seasonings! Add a little heat with some cayenne pepper, or try out some Trader Joe’s favorites like their chile lime seasoning.
- You can buy pre-cut cauliflower to save a bit of time and effort here if you wish.
- Instead of using 3-4 tablespoons of olive oil as I did, you could use an olive oil spray (or another variety like avocado oil), but ensure you use enough to fully coat the cauliflower so that the seasoning sticks.
What to serve with roasted cauliflower
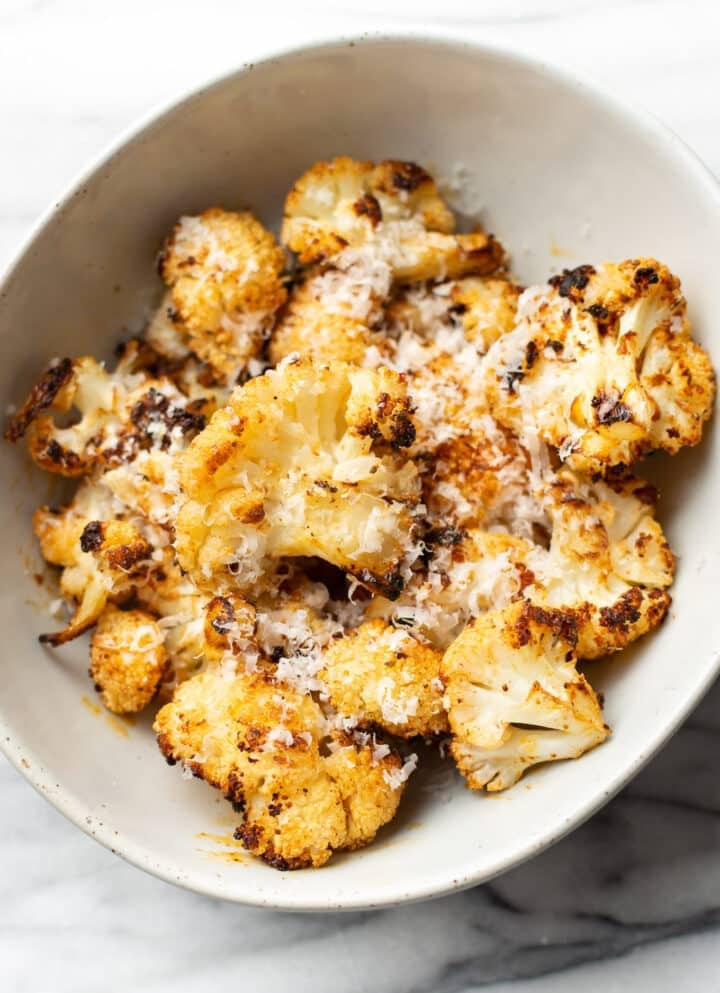
- Roasted cauliflower can be kicked up a notch by serving with some freshly grated parmesan cheese sprinkled on top and/or a squeeze of fresh lemon juice!
- This side dish will go with anything from Tarragon Chicken or Marry Me Chicken to my Pan Seared Salmon or Crockpot Pork Tenderloin. The beauty of it is that it goes with literally every main course.
- Want to eat it on its own as a snack? Dip it in some Creamy Tzatziki Sauce.
Leftovers and storage
- Roasted cauliflower is best fresh, but you can store leftovers for 3-5 days in your fridge in an airtight container.
- Reheat over low heat on the stove or microwave. You can also reheat in the oven at 350F to restore a bit of the crisped up exterior.
- You could freeze it for 3 months, but it will soften up even more. Let thaw before reheating.
Please leave a star rating and review in the comments if you made this simple roasted cauliflower recipe! You can also find me on Instagram. Talk to me below if the post didn’t answer all your questions.

Easy Roasted Cauliflower
Ingredients
- 1 head cauliflower cut into florets
- 3-4 tablespoons olive oil
- 1/2 teaspoon salt
- 1/2 teaspoon pepper
- 1 teaspoon garlic powder
- 1 teaspoon Italian seasoning
- 1 teaspoon smoked paprika
- Fresh lemon juice and/or freshly grated parmesan cheese optional, for serving
Instructions
- Preheat your oven to 425F and move the rack to the top third of the oven.
- Cut the cauliflower into florets and pat them dry with paper towel. Place them on a baking sheet (line it with foil for easy clean-up) and pour the olive oil over top. Toss with your hands, and then sprinkle on the salt & pepper, garlic powder, Italian seasoning, and smoked paprika, and toss again until nicely coated. Don't crowd the pan or it won't brown properly.
- Roast, uncovered, for 25-28 minutes or until tender and golden with some delicious browned parts. Toss/flip the cauliflower pieces halfway through roasting so they don't burn on one side.
- For next-level flavor, squeeze on some fresh lemon juice and/or sprinkle on some freshly grated parmesan cheese. Serve immediately.
Nutrition
Nutrition information is automatically calculated, so should only be used as an approximation.
© Salt & Lavender Inc. Content and photographs are copyrighted. Sharing this blog post is much appreciated, but copying and pasting full recipes without authorization to social media is strictly prohibited.



Great recipes but the web page jumps constantly. Too much advertising…..😀
Hi Darlene! The page shouldn’t be jumping… I will let my ad company know. Thanks!
Can I use this recipe for rainbow baby carrots too?
Hi! The cook time might be a bit different, but you could try.
Love this side dish!
Thank you so much, Danielle!!