This post may contain affiliate links. Please read our disclosure policy.
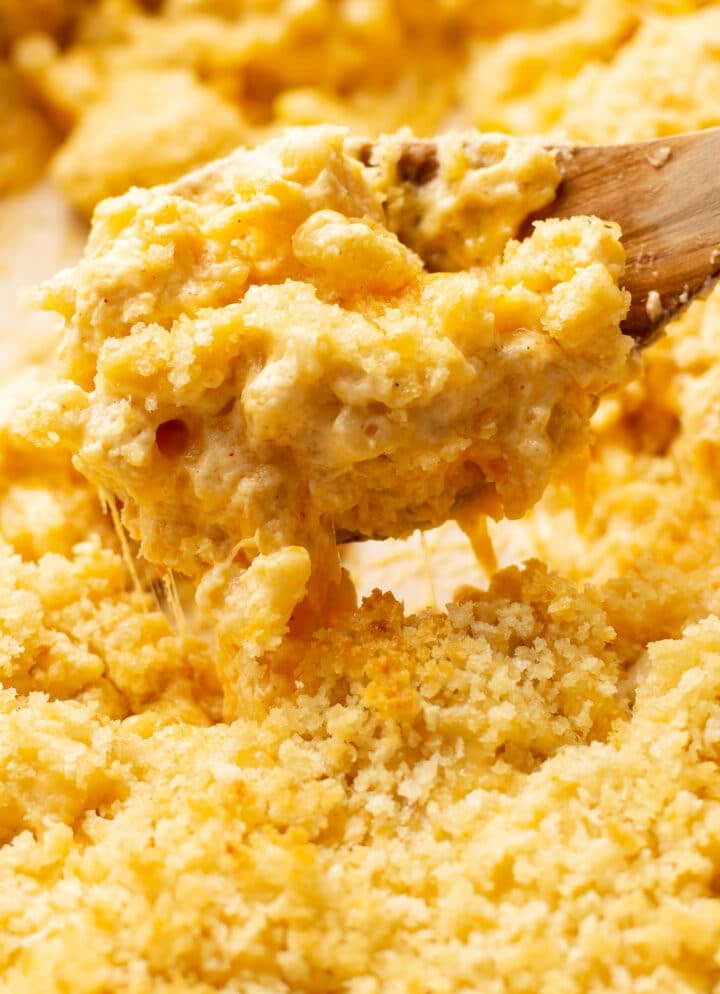
Make the holidays or any family meal memorable with this rich baked mac and cheese recipe! It’s luxuriously creamy comfort food, and everyone is sure to ask for seconds of this beloved classic.
Try my Quick & Easy Mac and Cheese for a stovetop alternative or my Three Cheese Mac and Cheese Gnocchi as a fun twist.
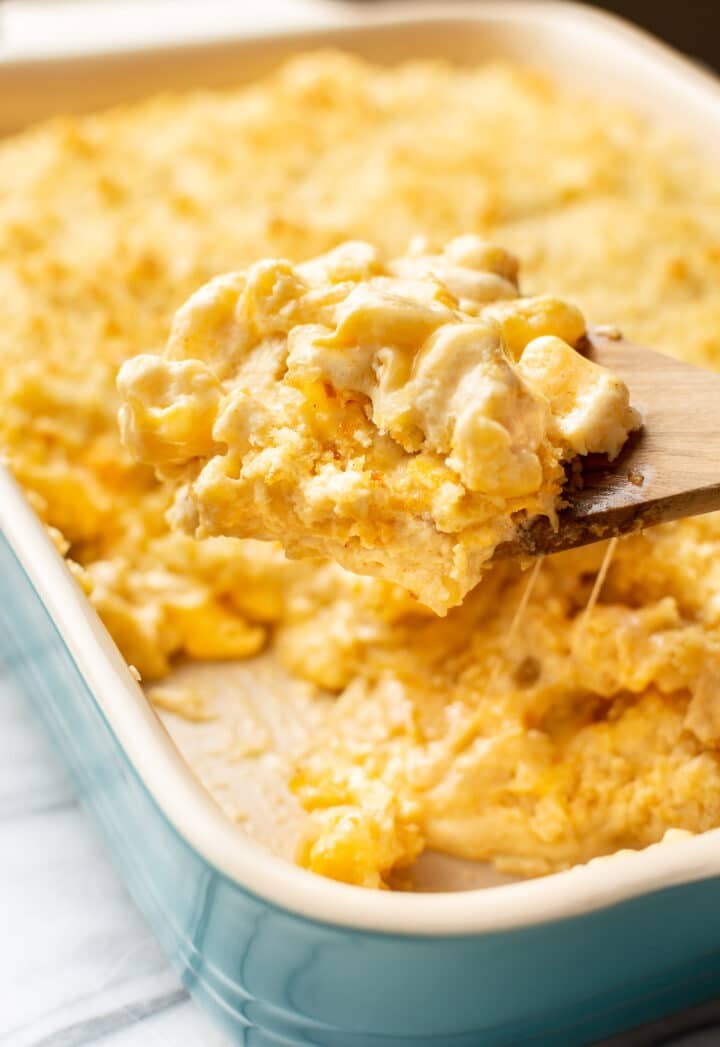
Why you’ll love it
This baked mac and cheese from scratch is so decadent and heavenly. When crafting my version, I didn’t skimp on any of the good stuff. We’ve got macaroni totally enveloped in a creamy, perfectly seasoned cheddar and Gruyère sauce, which is the best cheese combo. Buttery breadcrumbs top off this comforting treat!
Homemade baked mac and cheese is just one of those gloriously cozy side dishes you absolutely cannot skip on holidays like Thanksgiving or a special family dinner. It’s many people’s favorite part of the meal (mine too). Sure, it takes a little more time to prepare, but it’s straightforward to make, and your family will taste the difference when a whole lot of love is put into it.
What you’ll need
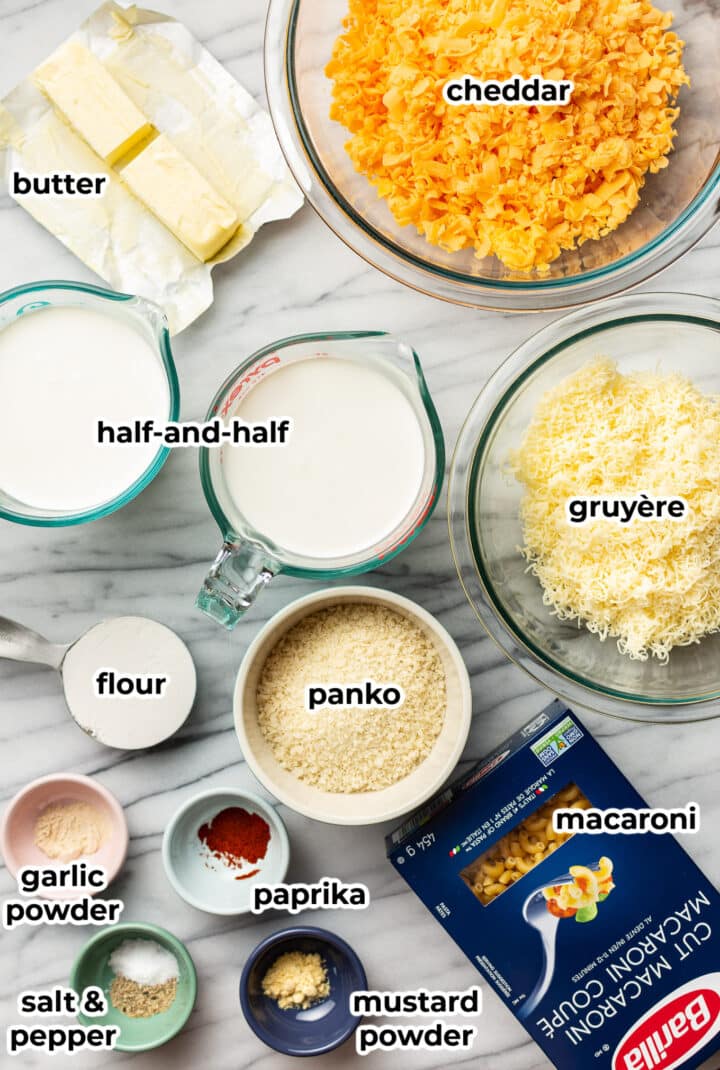
- Elbow macaroni – we’re using uncooked pasta from the dry pasta aisle
- Butter – unsalted butter for the base of the sauce and the panko topping
- Flour – it’s to thicken the sauce
- Half-and-half – you’ll find this in the dairy case. As the name suggests, it’s half milk and half cream to add richness. Some recipes use a combo of milk and heavy cream, but we’re simplifying by using half-and-half since it’s just one ingredient you have to buy, gives the same effect, it’s a bit easier to work with when making the white sauce.
- Cheddar – we’re using a sharp cheddar. Definitely grate your own good-quality cheddar for best taste, freshness, and so it melts properly unlike the bagged stuff. I like to use this grater.
- Gruyère – it’s a special way to elevate mac and cheese. Gruyère is a great melting cheese that’s very creamy and has a mild nutty flavor.
- Seasoning – garlic powder, mustard powder, and paprika along with salt & pepper are my signature mixture. This blend works together to create some magic!
- Panko breadcrumbs – it’s a lighter variety of breadcrumb than the regular kind. You’ll find it in the same place at the grocery store.
Pro tip
- You may be wondering why there’s a middle cheese layer. We have tested this recipe with and without it. This cheesy layer adds some variety to the texture, and it creates that irresistible stretchy cheese pull situation and also adds even more cheesy flavor without making the sauce too thick. Let’s get real, is anyone going to say no to more cheese?
How to make baked mac and cheese
This is an overview with step-by-step photos. Full ingredients & instructions are in the recipe card below.
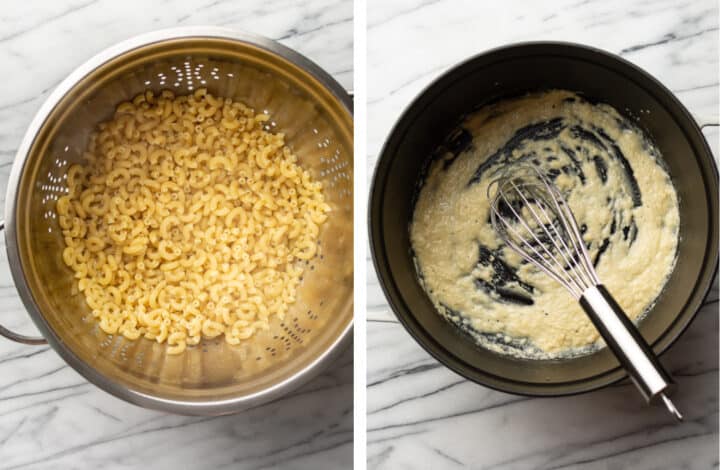
Prep all your ingredients according to the recipe card, and preheat the oven to 375F. Boil the pasta 1 minute less than package directions specify, drain, and toss with a little olive oil or butter. In a large pot or Dutch oven, melt 1/4 cup butter. Add in the flour and stir with a whisk until combined and golden and nutty to make a roux.
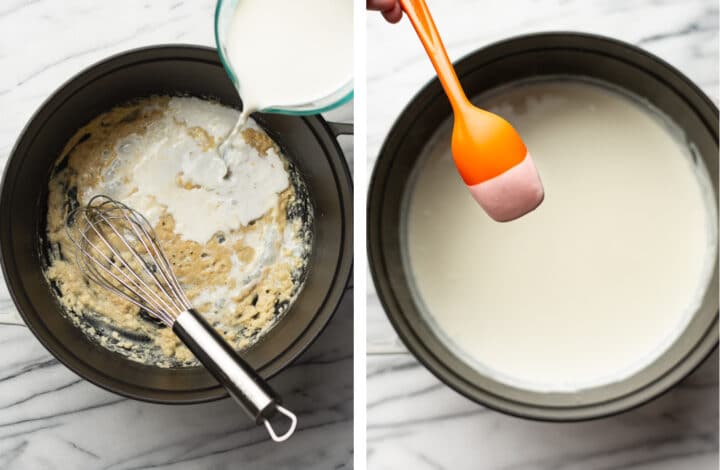
Whisk in the half-and-half gradually. Stir constantly to avoid it scorching, and whisk it until it gets thick enough to coat the back of a spoon. It can take up to 10 minutes, so be patient! Conversely, don’t let it get too thick.
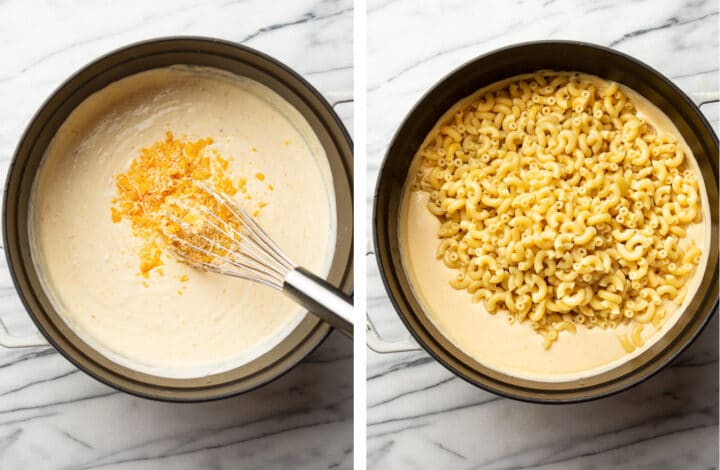
Remove from the heat, and gradually whisk in the 4 cups of cheese along with the seasonings until smooth. Add the cooked pasta to the pot, and toss until coated.
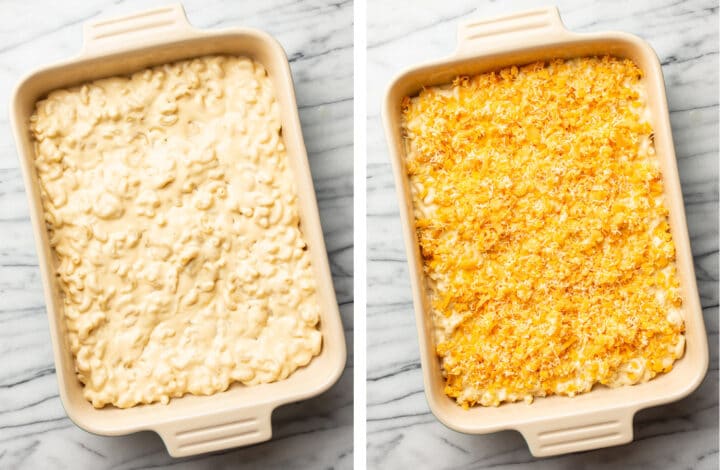
Spread half the mac and cheese mixture evenly into a baking dish. Sprinkle the remaining 2 cups of cheese over top to make the cheesy middle layer.
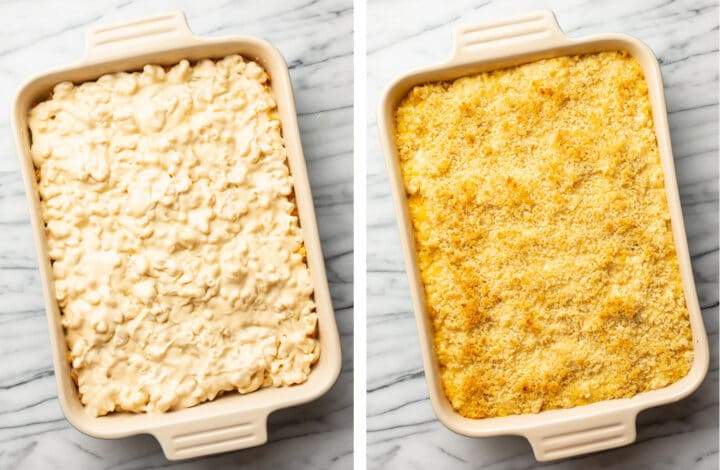
Add the second layer of mac and cheese evenly on top. Mix the panko and butter topping in a small bowl, and then sprinkle it on. Bake, uncovered, for 15 to 20 minutes until hot and golden!
Helpful tips
- I recommend reading through the recipe once or twice prior to getting started to familiarize yourself with it. This is a good practice for any recipe so you don’t have any surprises while cooking, but it’s particularly important with recipes like these that have multiple steps.
- Grate your own cheeses! This is so important. Pre-grated cheeses are coated with anti-caking ingredients that can prevent the cheese from melting smoothly and causes the cheese sauce to end up grainy.
- To measure the flour, spoon and level it. Spoon it into your measuring cup and then use a knife to smooth the top out. If you scoop it directly from the flour container, you will pack it down and actually add more than intended.
- Timing to get the white sauce (also known as bechamel sauce) to thicken up can vary. This is probably the trickiest part of making this recipe, but you’ve got this! Factors such as how cold the half-and-half was, the pot you’re using, and how quickly you added the half-and-half in can all affect timing, so don’t worry if it seems to be taking longer or goes a bit quicker than expected. Just keep whisking!
Substitutions and variations
- I only recommend tweaking the recipe if you’ve made mac and cheese before and you are confident making adjustments on the fly.
- Substitute for whole milk or evaporated milk at your own discretion. The sauce may not thicken the same way, and you may end up with less sauce overall if you cook it down for longer.
- If you don’t want the crunchy topping, you could instead add another cheese layer on top and then broil after the 20 minutes at 375F to brown it if needed. You could use the same cheeses (grate another cup or two) or even sprinkle some mozzarella on top for a bit of variety.
- Love bacon? Go ahead and add some crumbled Oven Cooked Bacon on top to take it to the next level.
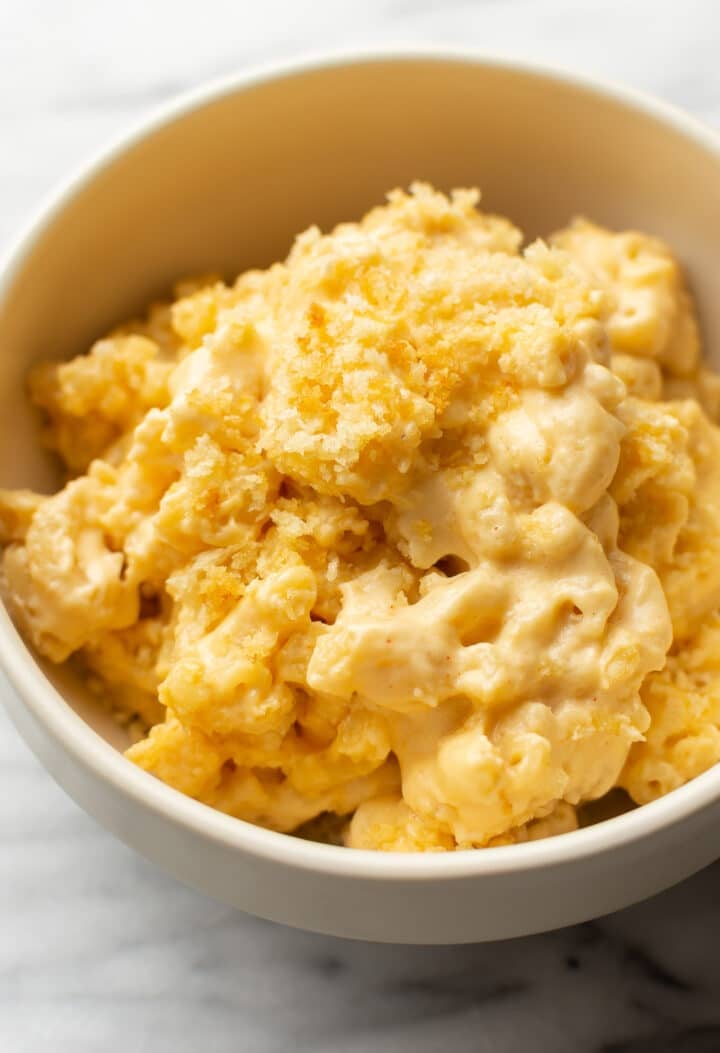
Can I make baked mac and cheese ahead of time?
- You could try, but the further ahead of time it’s made, the less creamy it will get since the pasta will absorb the sauce. We’ve only tested making it in real time, but if you have to make it ahead, follow the directions up until adding the panko mixture. Cover tightly and refrigerate for up to 1 day, let it warm up on the counter for 30 minutes before baking, and then add the breadcrumbs.
What to serve with it
- If this is going to be a main course, mac and cheese just needs a simple salad to complement it. Try mixed greens with my Homemade Ranch Dressing.
- It’s an awesome side dish with my Parmesan Crusted Chicken or Mississippi Pot Roast Recipe for a filling family dinner.
- Of course, you’ll want to serve it alongside holiday favorites like my Easy Roast Turkey, classic Green Bean Casserole, and Easy Cheesy Scalloped Potatoes.
Leftovers and storage
- Leftovers will keep in the fridge for 3-4 days in an airtight container.
- The best way to reheat leftover baked mac and cheese is the same way you cooked it, in the oven! Give it a splash of half-and-half to revive it if it’s looking a bit dry, and heat it up in the oven at 350F covered with foil until warmed through.
- I’d caution against freezing leftovers. Cooked pasta and dairy don’t hold up great in the freezer.
If you have any questions about this baked macaroni and cheese or want to leave a review, talk to me in the comments below. I’d love to hear from you! You can also find me on Instagram.
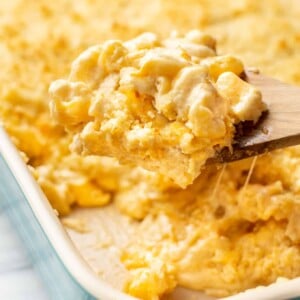
Baked Mac and Cheese
Ingredients
- 1 pound (16 oz.) uncooked elbow macaroni
- 1/4 cup butter + 1/4 cup butter (one stick cut in half)
- 1/3 cup flour
- 4 cups half-and-half
- 4 cups grated sharp cheddar
- 2 cups grated Gruyère cheese
- 1/2 teaspoon salt
- 1/2 teaspoon garlic powder
- 1/2 teaspoon mustard powder
- 1/4 teaspoon paprika
- Pepper to taste
- 1 cup panko breadcrumbs or crushed Ritz crackers
Instructions
- To prep:– Take the half-and-half out of the fridge to let it warm up a bit.– Grate your cheeses and add them to a large bowl and toss together. Measure out 4 cups (this is for the sauce) and keep that separate from the remaining 2 cups of cheese (for the middle layer of the mac and cheese).– For the panko topping, melt 1/4 cup of the butter in a medium bowl and set aside (don't add the panko in until step 10). – Add the seasonings (salt, garlic powder, mustard powder, paprika, and pepper) to a small bowl.
- Preheat the oven to 375F and move the rack to the top third of the oven.
- Boil a large, salted pot of water for the macaroni and cook it for 1 minute less than package directions indicate. Once it's done, drain it, add a bit of olive oil or butter to it (less than 1 tbsp) and toss, then set aside (it's fine to sit in the colander you drained it in).
- To a pot/Dutch oven, add the remaining 1/4 cup of the butter and melt over medium heat. Once it's melted, add in the flour and stir (I just use a whisk) until combined. Let it cook for 3-5 minutes, stirring fairly often, until it starts to smell a little nutty and goes a bit golden (it should still be pale).
- Gradually whisk in the half-and-half. Keep whisking or else it could scorch to the bottom of the pot. Whisk until the sauce gets thick enough to coat the back of a spoon. Timing can vary, and this can take up to 10 minutes or so – be patient and don't stop whisking. Don't let the sauce get too thick – it will get a lot thicker as you add the cheese.
- Take the pot off the heat and gradually whisk in the 4 cups of cheese as well as the seasonings (salt, garlic powder, mustard powder, paprika, and pepper).
- Add the cooked macaroni to the pot and stir until coated.
- Add half the mac/cheese mix from the pot to a 9×13 baking dish and spread it in an even layer. I find it easiest to do this with a ladle.
- Sprinkle the remaining 2 cups of cheese into the baking dish, then add the remaining mac/cheese mix on top of it.
- Add the panko to the bowl with the melted butter and stir until combined, then sprinkle it over the mac and cheese.
- Bake, uncovered, for 15-20 minutes (let the topping turn golden but don't overcook as the sauce will dry out). Enjoy hot!
Notes
- This recipe yields a rich mac and cheese with a thick sauce.
- See blog post for more tips and step-by-step photos – especially if you’ve never made a baked mac and cheese before.
- I strongly recommend grating your own cheeses for the silkiest and best results.
Nutrition
Nutrition information is automatically calculated, so should only be used as an approximation.
© Salt & Lavender Inc. Content and photographs are copyrighted. Sharing this blog post is much appreciated, but copying and pasting full recipes without authorization to social media is strictly prohibited.



Our family with adult children really liked this recipe! It is a step up from the ordinary.
Thanks, Dena!!
I need to take this to a Christmas potluck so wondering if I could double it and put it in a crockpot so it stays warm. Could always take some half and half with me in case it gets too thick. Maybe skip the panko crumbs? Could I skip the baking in the oven and finish it in the crockpot? Any advice would be great! Love, love your recipes. Just put the Wine Braised short ribs in the crockpot for a dinner party tonight! They are so good and the house will smell wonderful!
Hi Ann! Thank you!! I’m so glad you like the short ribs. 🙂 I’m reluctant to suggest anything since you’re right that mac & cheese can easily get thick (and/or separate), and I haven’t ever done mac & cheese in the crockpot, so I could be completely off with any suggestions. With that said, I think that you’re right in skipping the panko, and taking the half and half sounds like a good idea to me. I normally suggest doing test runs of recipe if you’re trying out something new with it, but I understand with this one it’s a lot of work, especially during the busy holidays.
Worth all the dishes! 😉 Such a hit with the family this Thanksgiving!
Wonderful!! 😀 Thanks, Nicole! Happy Thanksgiving!
Adding yet another of your wonderful recipes to my repertoire. I didn’t have a mac and cheese recipe I loved, but then I remembered Salt and Lavender. Yes, I tried a new recipe Thanksgiving day, but only because it was yours! I did lay 6 slices of mozzarella cheese on top of the middle shredded cheese layer, and reserved a portion of that shredded cheese as the topping instead of using the panko. Baked as directed and then broiled the top for a little crispiness to the cheese. Everyone raved, and this will be my ongoing recipe for mac and cheese. Thank you once again.
That makes me so happy! 😀 You’re very welcome, Lynn. Happy Thanksgiving!