You read food blogs. You take photos of your culinary creations. You have some amazing recipes stashed away. You jot down ideas in your phone. You’ve considered starting your own food blog, but you’re not sure where to begin. That was me not so long ago!
It was actually an offer just like this one that prompted me to finally start this food blog back in 2015. I wish I had done it sooner, but better late than never, right? 🙂 I’ve come full circle, and I am now working with Bluehost to offer Salt & Lavender readers a special price to get their blogs up and running. Whether you’re wondering how to start a food blog to make money or simply for a hobby, you can find out here.
Please note this page contains affiliate links, meaning I earn a commission for some of the products recommended here.
If you want to start your own blog, now’s the time.
It’s really easy to get started.
- Choose your domain name. –> There are plenty of good ones left!
- Sign up for hosting. –> This is where your site will live
- Install WordPress. –> The industry standard for blogging software
Choose your domain name
You want something fairly easy to spell and memorable. If you’re already thinking of a niche market (say you want to blog about donuts), consider including that in the domain name, but be careful not to get too specific in case your interests expand later on. I wanted my blog’s name to be general enough that if I decided to take my blog in a specific direction, my name wouldn’t hold me back. Ok, so tons of people can’t spell “lavender”, but that’s what auto-correct is for. 😉
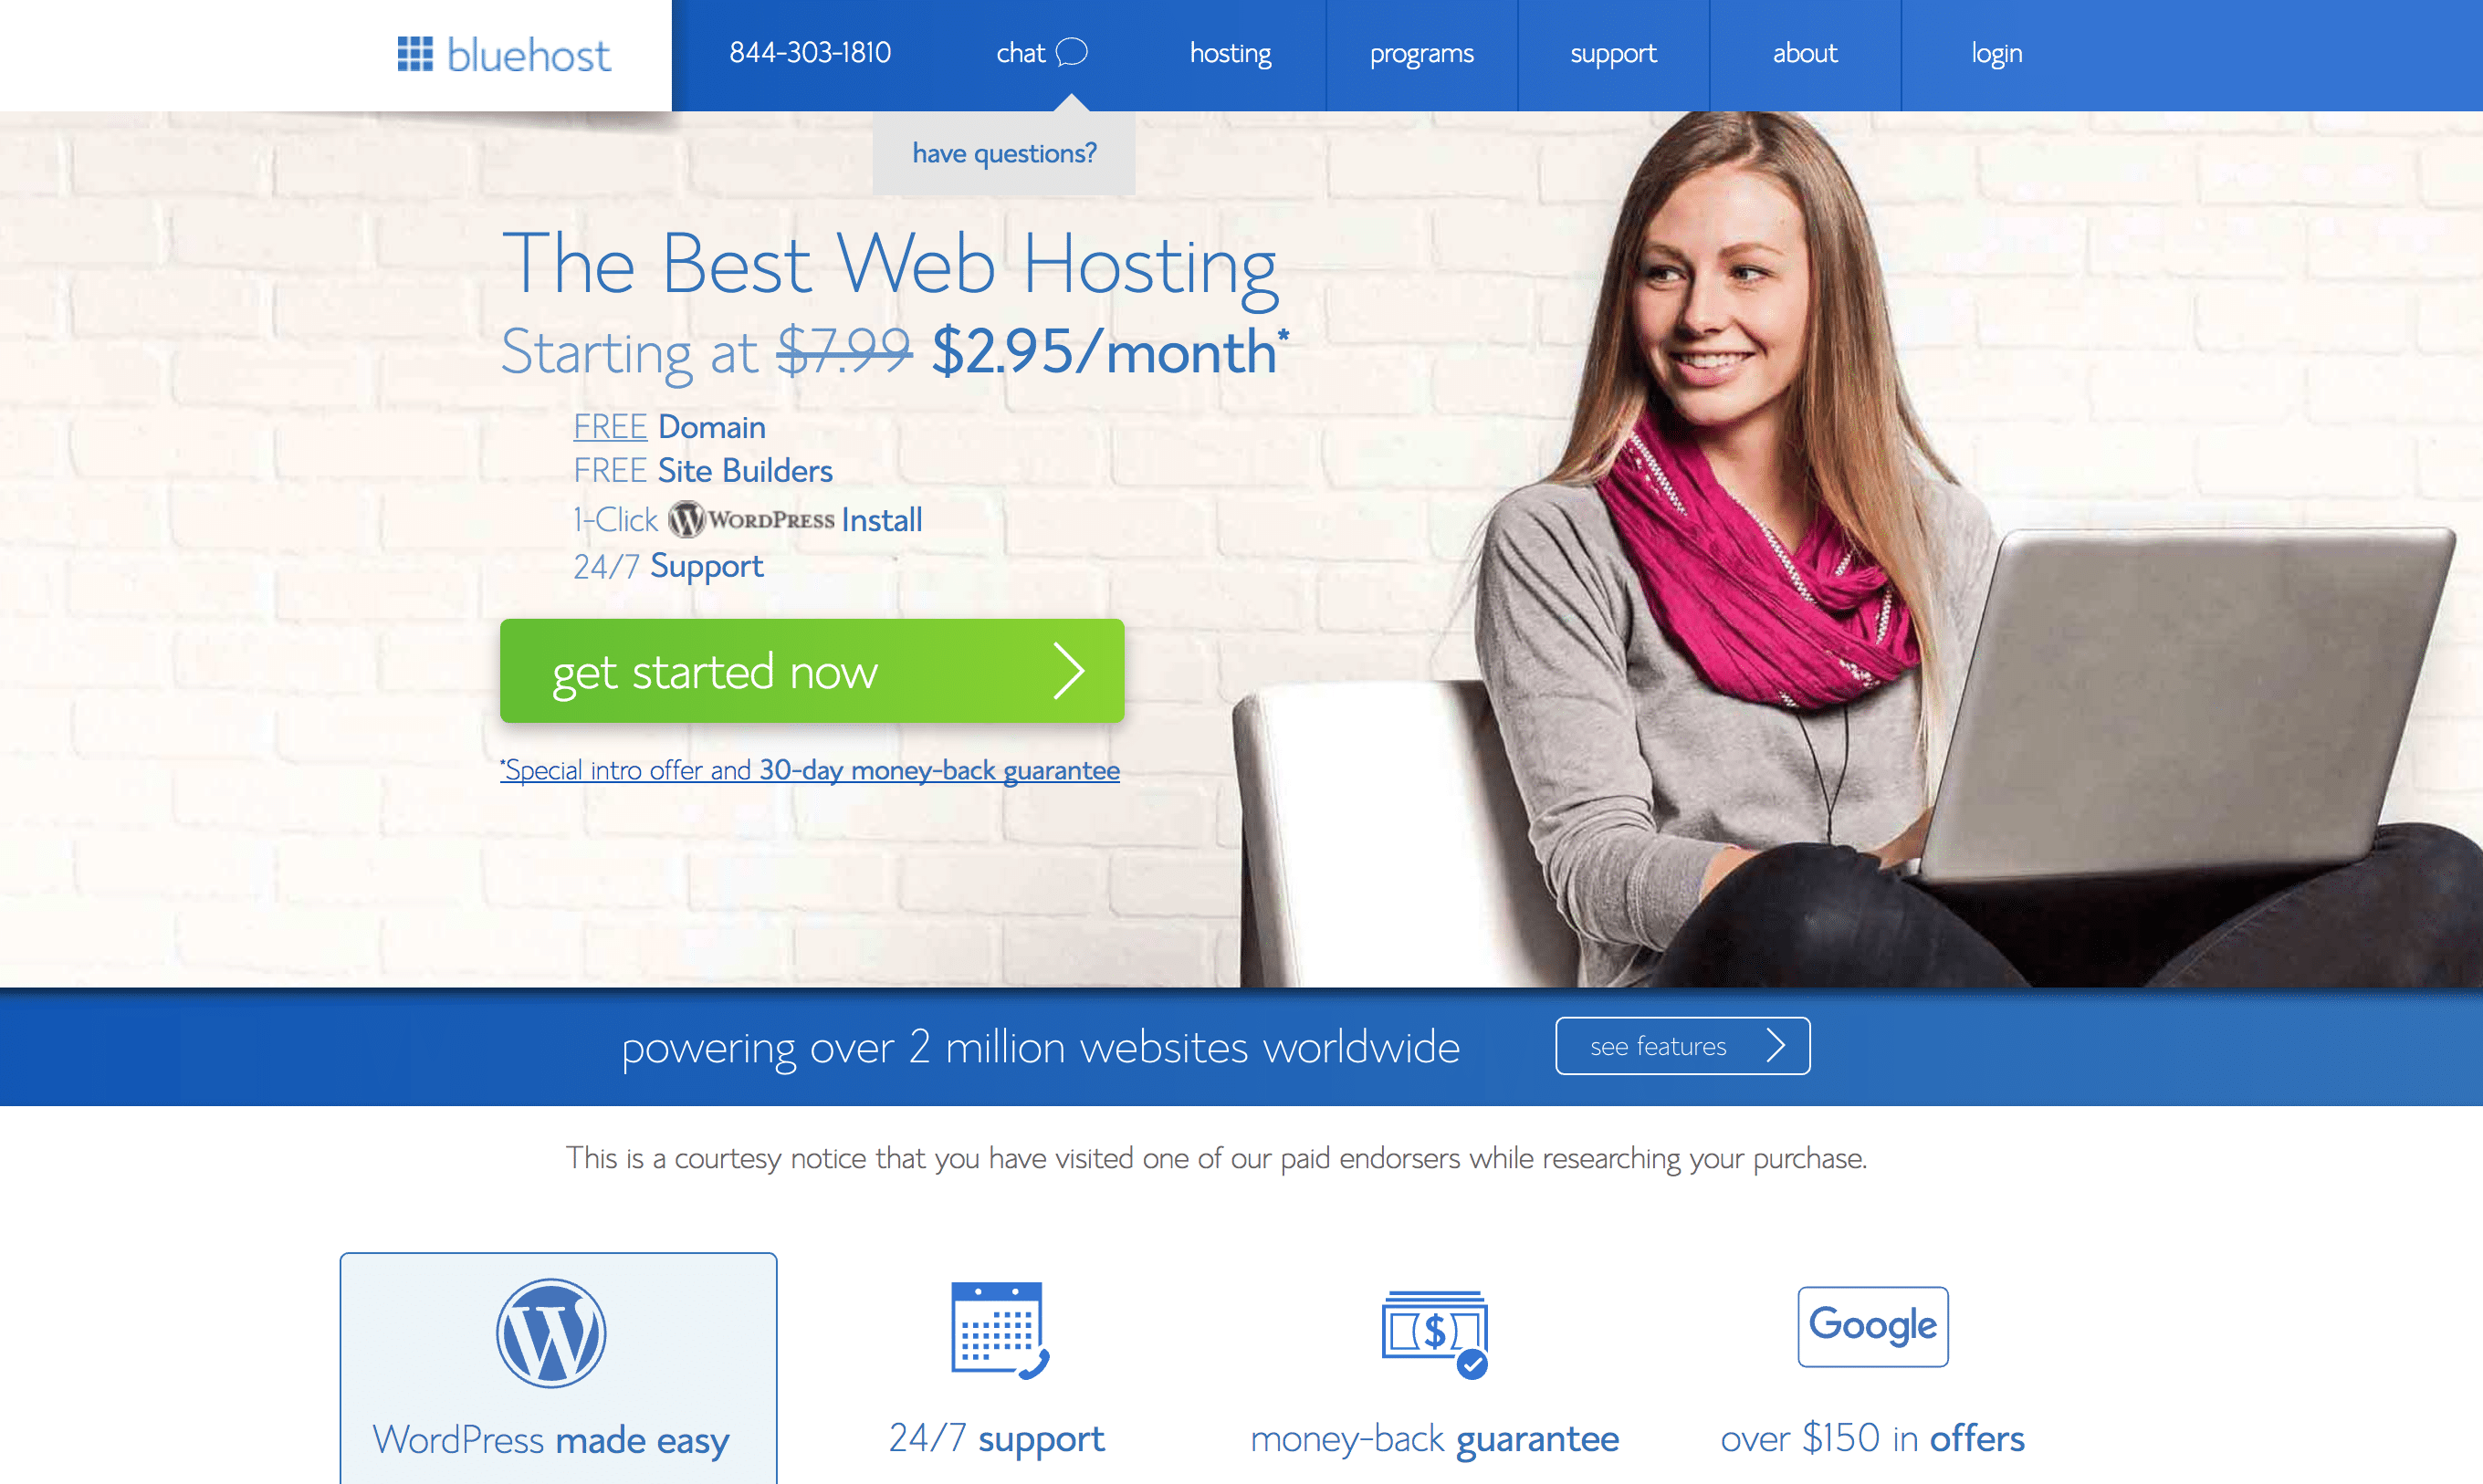
If you decide to go with Bluehost through my link, you can get a free domain name.
Here’s how to easily check if your chosen domain name is available:
Brainstorm some ideas with a friend. Sleep on it. Then go for it!
Sign up for hosting
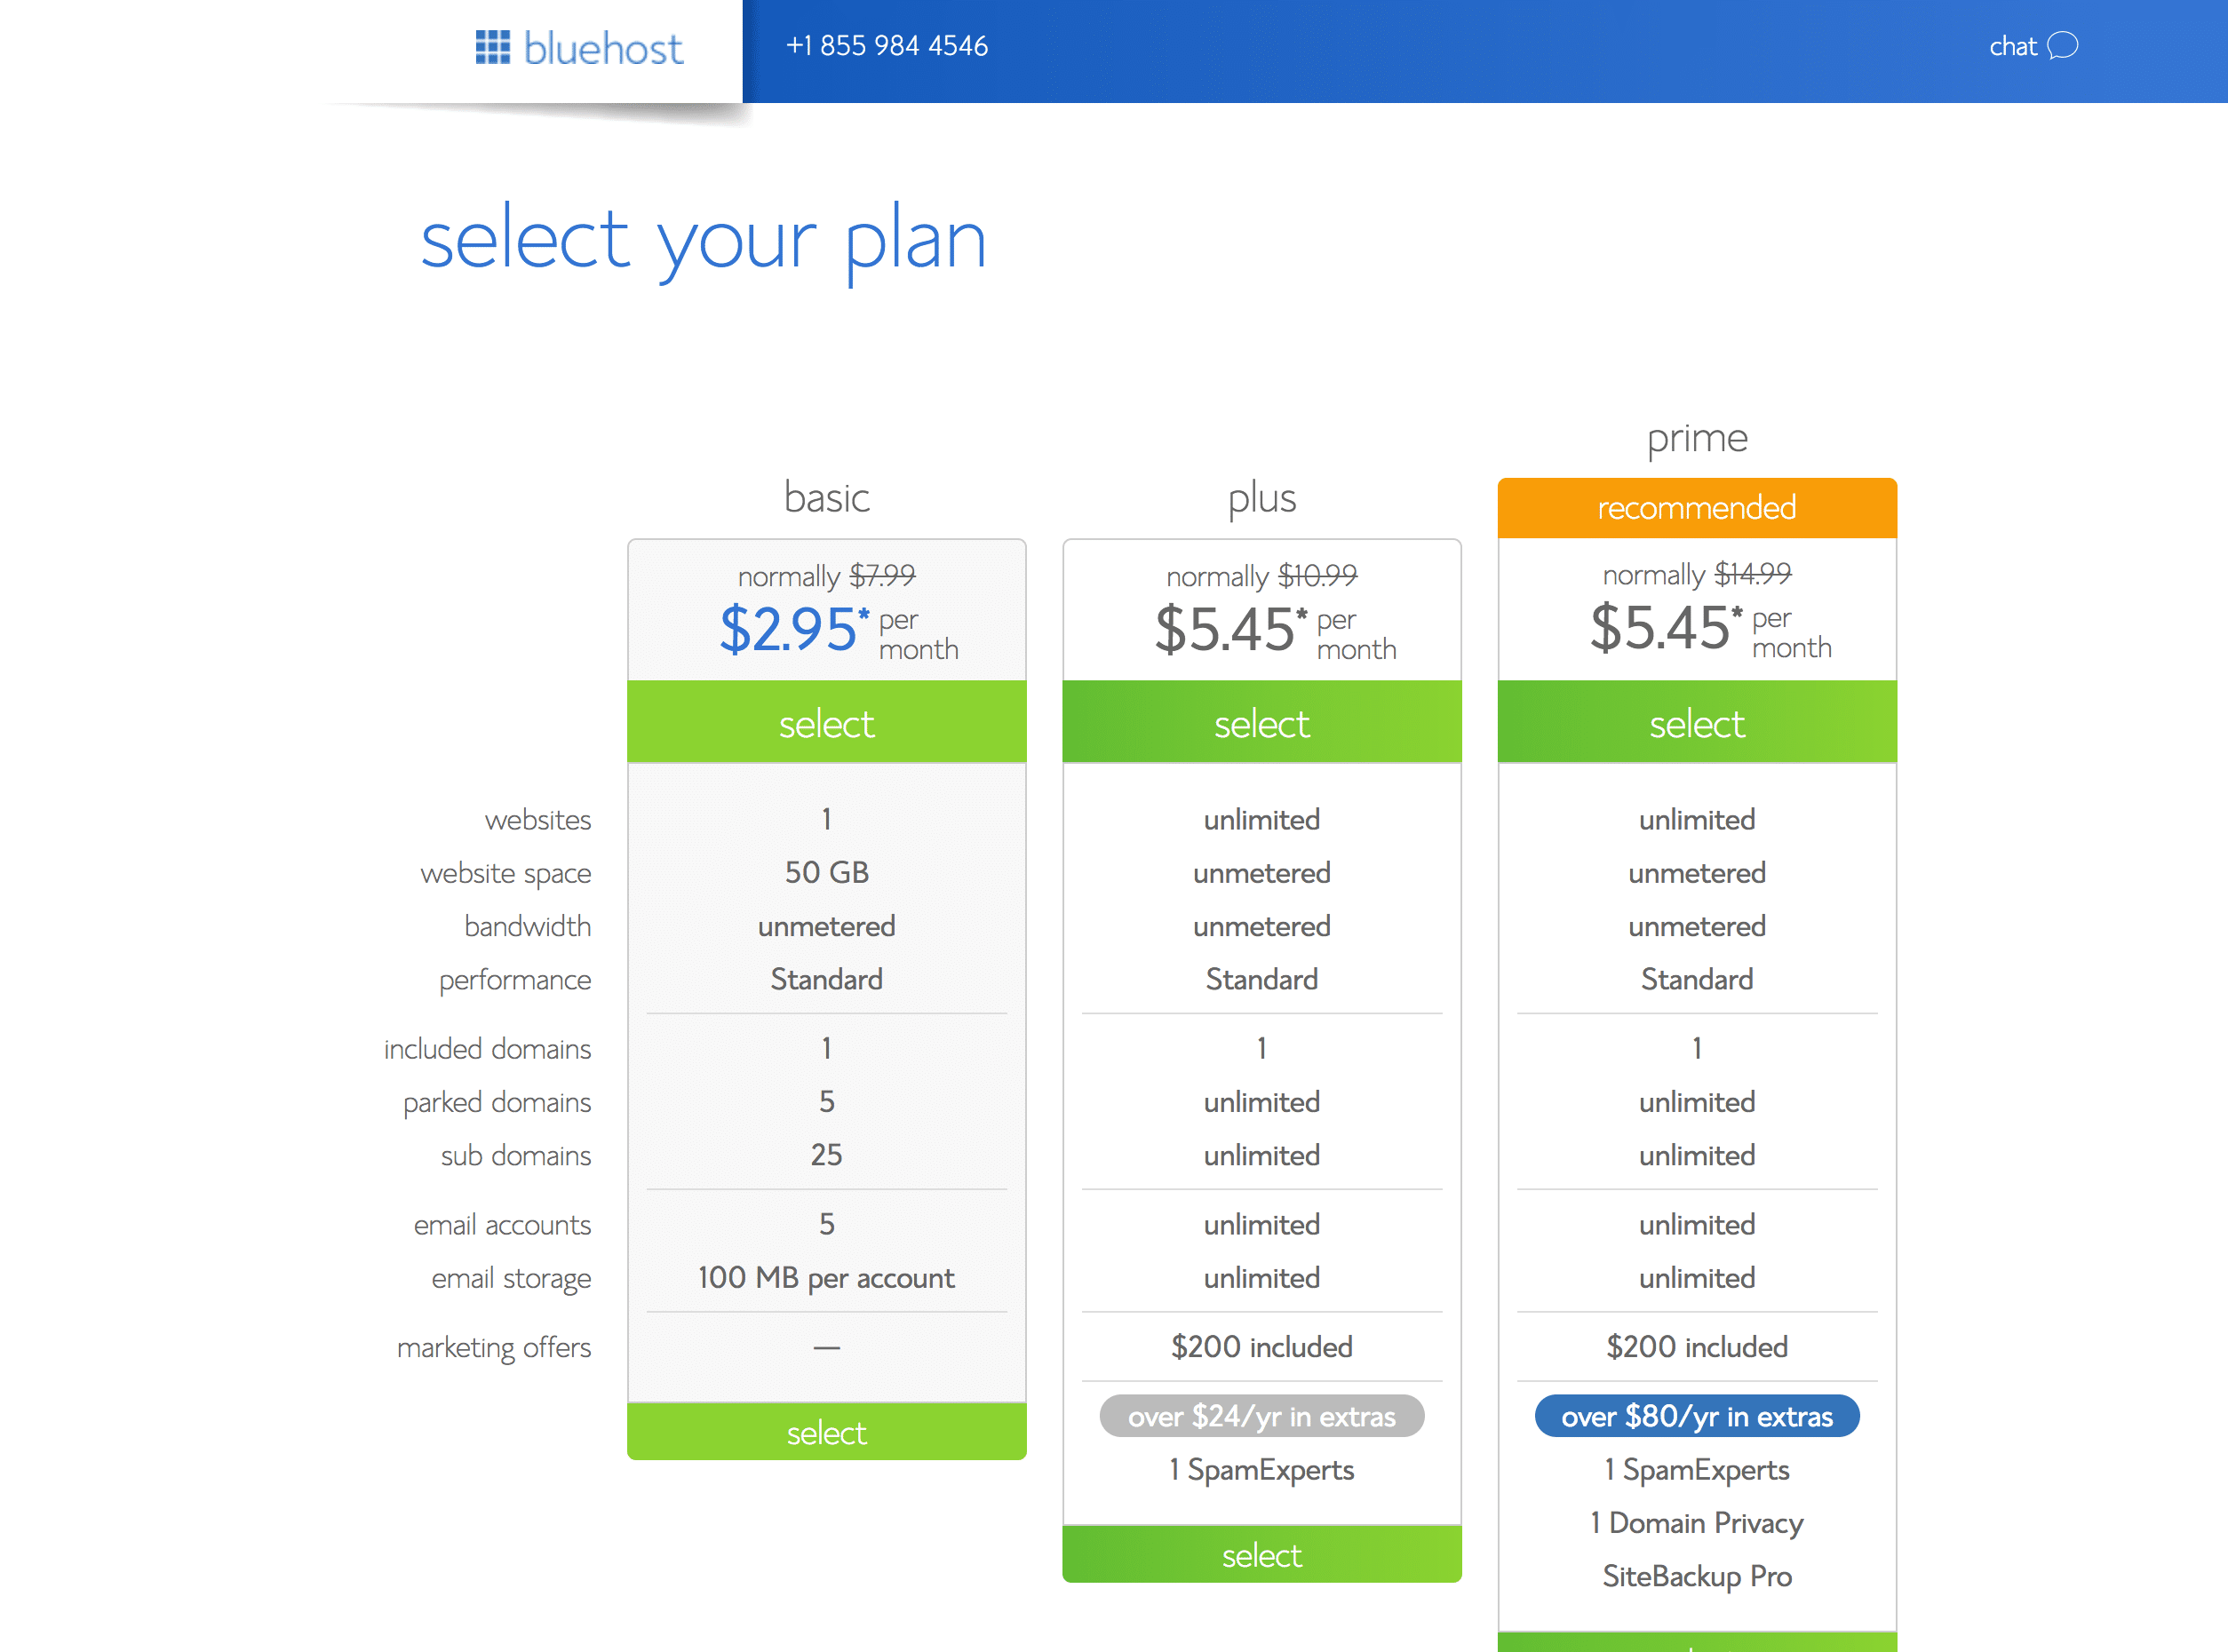
Bluehost makes this simple. Their hosting is affordable. This was very important to me when I first started since I had no idea where blogging would take me, and I didn’t want to invest too much money to begin with. Salt & Lavender readers can get hosting for $2.95/month. I recommend Bluehost for those starting out with brand new blogs.
There are a few different plans to choose from. The basic plan is great for new bloggers to get started. Bluehost does have their customers pay for their plans upfront (this is pretty common with less expensive hosts). No need to worry, though. If you change your mind, Bluehost will refund any months of hosting that you don’t use. Using my link will get you your domain name free if you sign up for a 12-month plan. You can sign up for longer plans too if you wish.
Install WordPress
You took the plunge and now have your domain name and hosting secured! Do a happy dance. Or not. Now’s when the real fun begins!
WordPress is the most popular blogging platform, and you will find that most things you’ll encounter on your blogging journey are tailored for it. Believe me when I say it’s easier to start with WordPress than to switch platforms down the line when you’re already established.
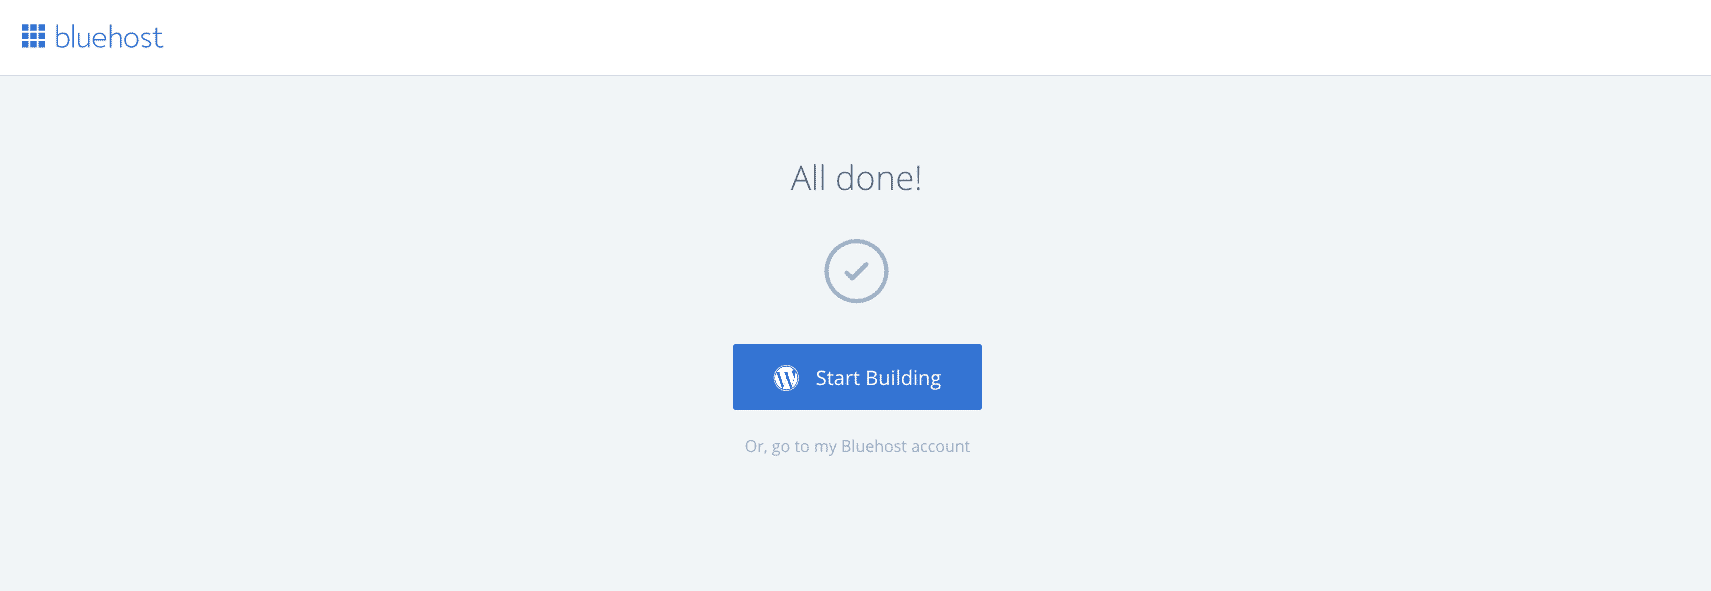
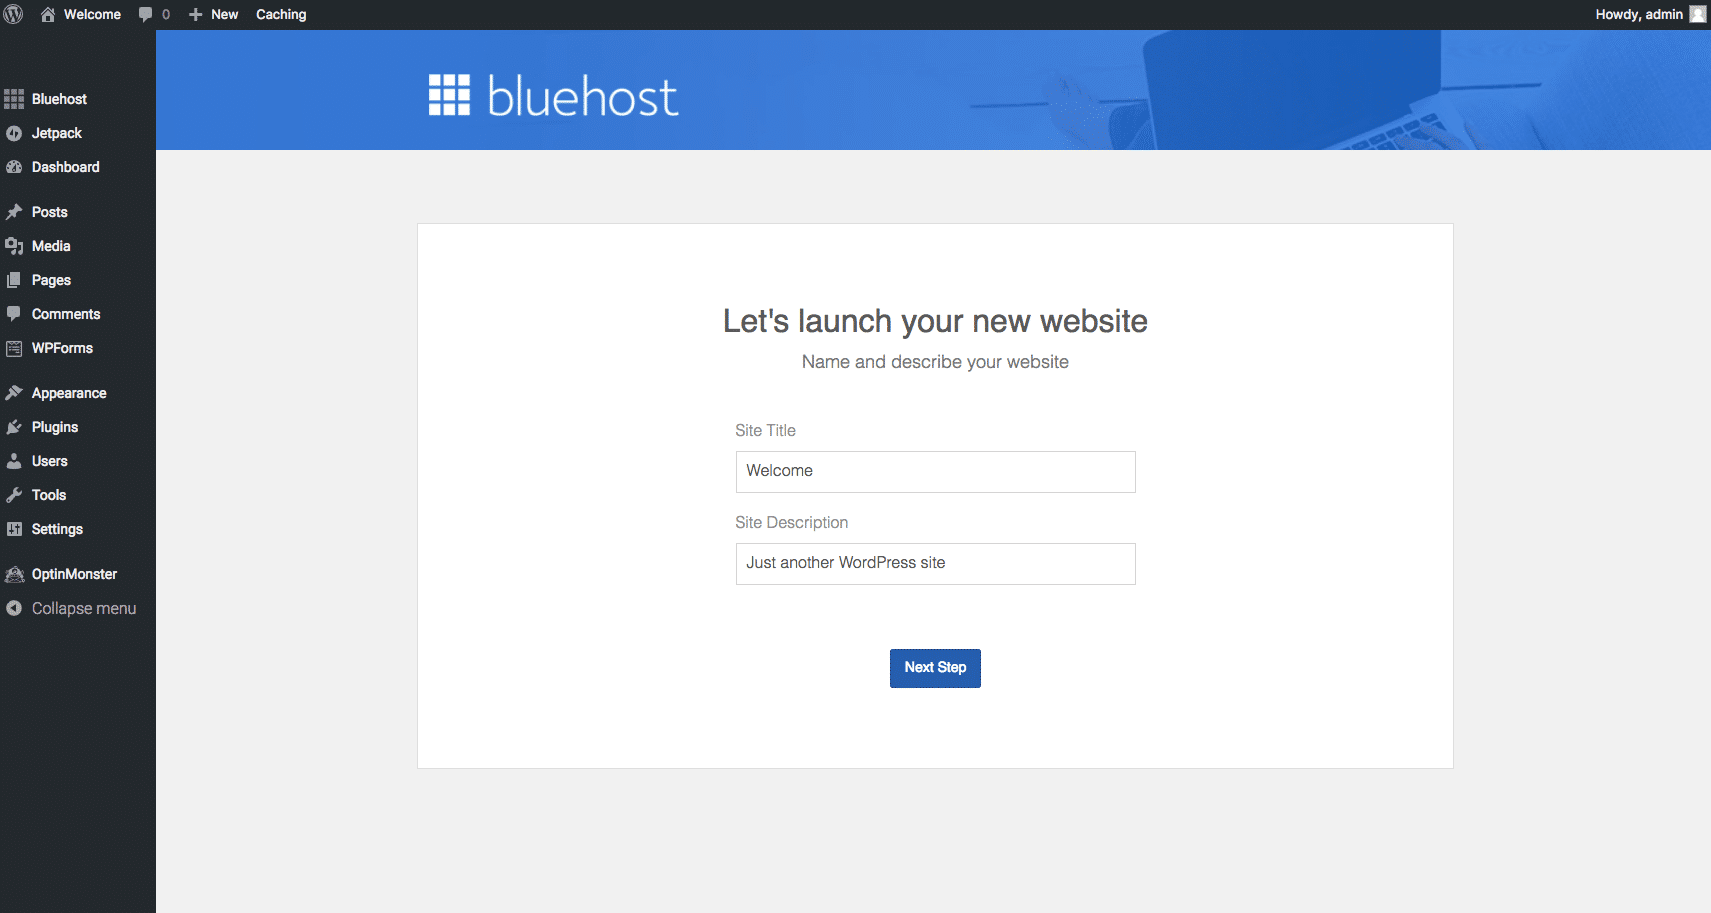
You’ll be emailed your username/password and prompted to sign onto Bluehost. You’ll be able to take a look at some back-end stuff (like your control panel), but you won’t need to touch most of that. WordPress can easily be installed (it was 1-click back when I signed up, and I just followed the instructions on the screen from there).
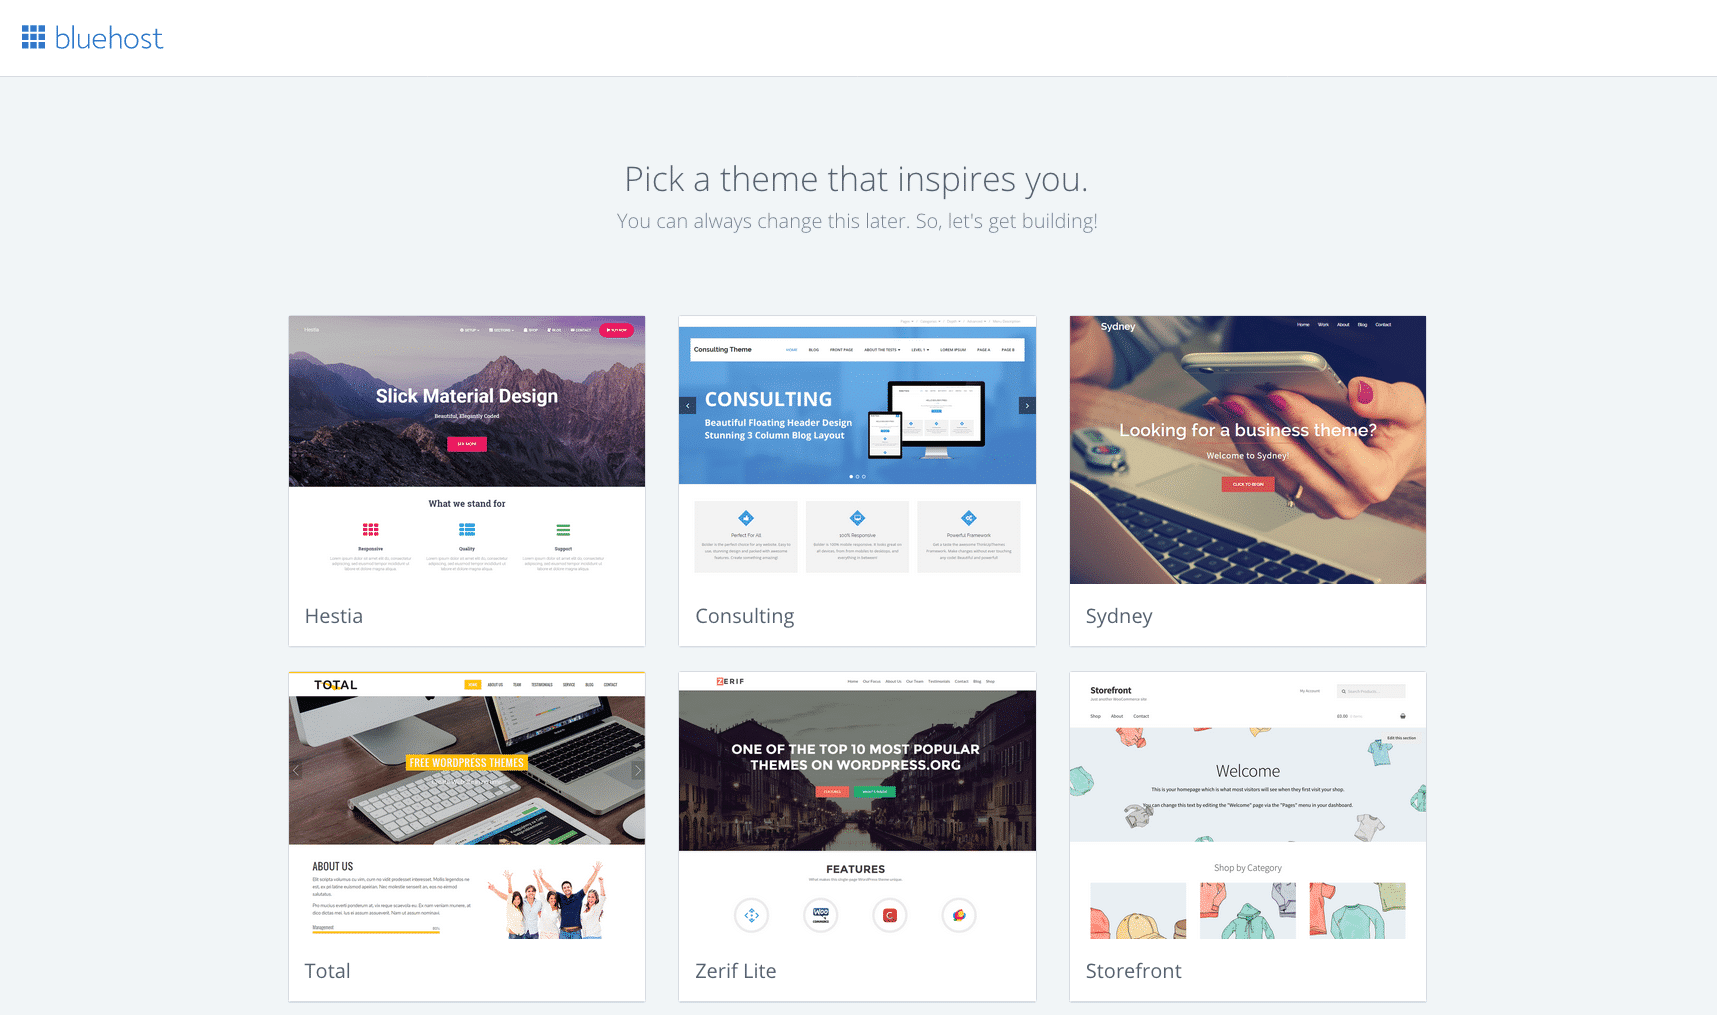
If you sign up for hosting through Bluehost, it’ll prompt you to pick a theme. You can do this now (there are plenty of free options) or skip the screen. It’s ok to just pick a theme to get started then change it later. Your theme is what people notice. It’s the way your blog is displayed. Themes can be customized (things like colors and fonts are pretty easy to change), but I suggest finding one that generally does what you envision because the more customized you want it to be, the more complicated and/or expensive it’ll be to change it. You can use free themes or paid themes. It just depends on your budget and goals.
I did a lot of research into themes, and I found that many successful blogs use something called the Genesis Framework. Their website can explain it way better than I can, so I took this explanation straight from them: “The way your site looks can be instantly updated by what’s called a child theme, while all of the SEO benefits and core Genesis functionality remain untouched. That means that changing the look of your site is a snap — and you don’t need a designer or developer to do it. You could radically change the look of your site every week if you wanted to, and you’d never hurt your search engine rankings … because your design functions are kept completely separate from the core code.”
I definitely wanted Genesis as the backbone of my blog. I then bought the ready-made Foodie Pro theme (update: I now use Cravings Pro) and spent time tinkering with it to the best of my ability (I am not a coding expert). You don’t need to hire anyone to customize a theme for you when you first begin unless you really want to. I did have a designer do my logo, but that’s it. It’s very doable. I wanted something clean, easy to read, and mobile responsive (most of my readers are on their smartphones).
And that’s it… starting a food blog isn’t that bad. Now the real fun starts. 😉
Ok, so now what?
- Get some plugins! This will help customize your site and make it more powerful. A couple of my favorites include the WordPress editorial calendar to keep me organized, and Yoast SEO to get you on the right track to having your recipes found on search engines.
- As a food blogger you will need to choose a recipe plugin. I use WP Recipe Maker – the customer service is great, and they’re on top of big WordPress updates.
- Install Google Analytics. This will tell you who is visiting your site. They’re the industry standard, and I highly recommend installing it ASAP (it’s free).
- Start snapping photos of those recipes! It’s fine if you start with your phone’s camera. When I started this blog, I taught myself how to use my husband’s old Nikon DSLR camera. You can see from some of my initial photos that it wasn’t pretty. But that’s half the fun. I highly recommend Adobe Lightroom for photo editing. Editing (and the ability to export photos for the web) is essential to making food photos look mouthwatering.
- Play around with your shiny new blog and create your first posts! It took me a few months to open my blog to the world (I had it set on “private”). That’s totally up to you. The sooner you get started, the sooner you’ll have your first reader (it’s ok if it’s a friend). 😉
- I strongly suggest getting a third-party backup such as VaultPress after you’ve got a few posts under your belt. Things can and do go wrong, and it never hurts to have your site backed up in more than one place.
- Get your work out there! Start promoting your blog posts on Pinterest, Instagram, Twitter, and Facebook. Submit to sites like FoodGawker. These actions will grow your traffic.
- Start your email list. I waited almost 2 years to start mine (I really had no excuse.). Try MailChimp to get started for free.
- Keep to-do lists. This can be as simple as using the notes app on your phone!
- There are tons of great free resources out there that you can poke around on to get some tips on how to get started blogging. Food Bloggers Central is one of my favorites. They also have an excellent Facebook group that is full of food bloggers from novice to expert from all over the world. You never feel alone when you’re part of this group.
- I was interviewed on the Dishing with Delishes podcast where I talk about some of the things I did to grow my blog if you are interested in listening. I also talk about the power of good habits in blogging on the Eat Blog Talk podcast.
- I wrote an article on the top things I wish I knew when I started my blog and one on how I balanced blogging while working full-time – these may also help you get started.
You’ve got this.
A blog is the perfect way to get your passion out there. You don’t need to spend a lot of money in your first year of blogging. There’s a wealth of free information out there to answer any of your blogging questions. You can do it!
