This post may contain affiliate links. Please read our disclosure policy.
This 30-minute Mongolian beef recipe is the tastiest version you’ll try! It has thin strips of tender beef with a totally irresistible yet easy to make savory-sweet sauce.
I think you’ll also like my Beef and Broccoli and Easy Orange Chicken for more takeout-style meals at home.
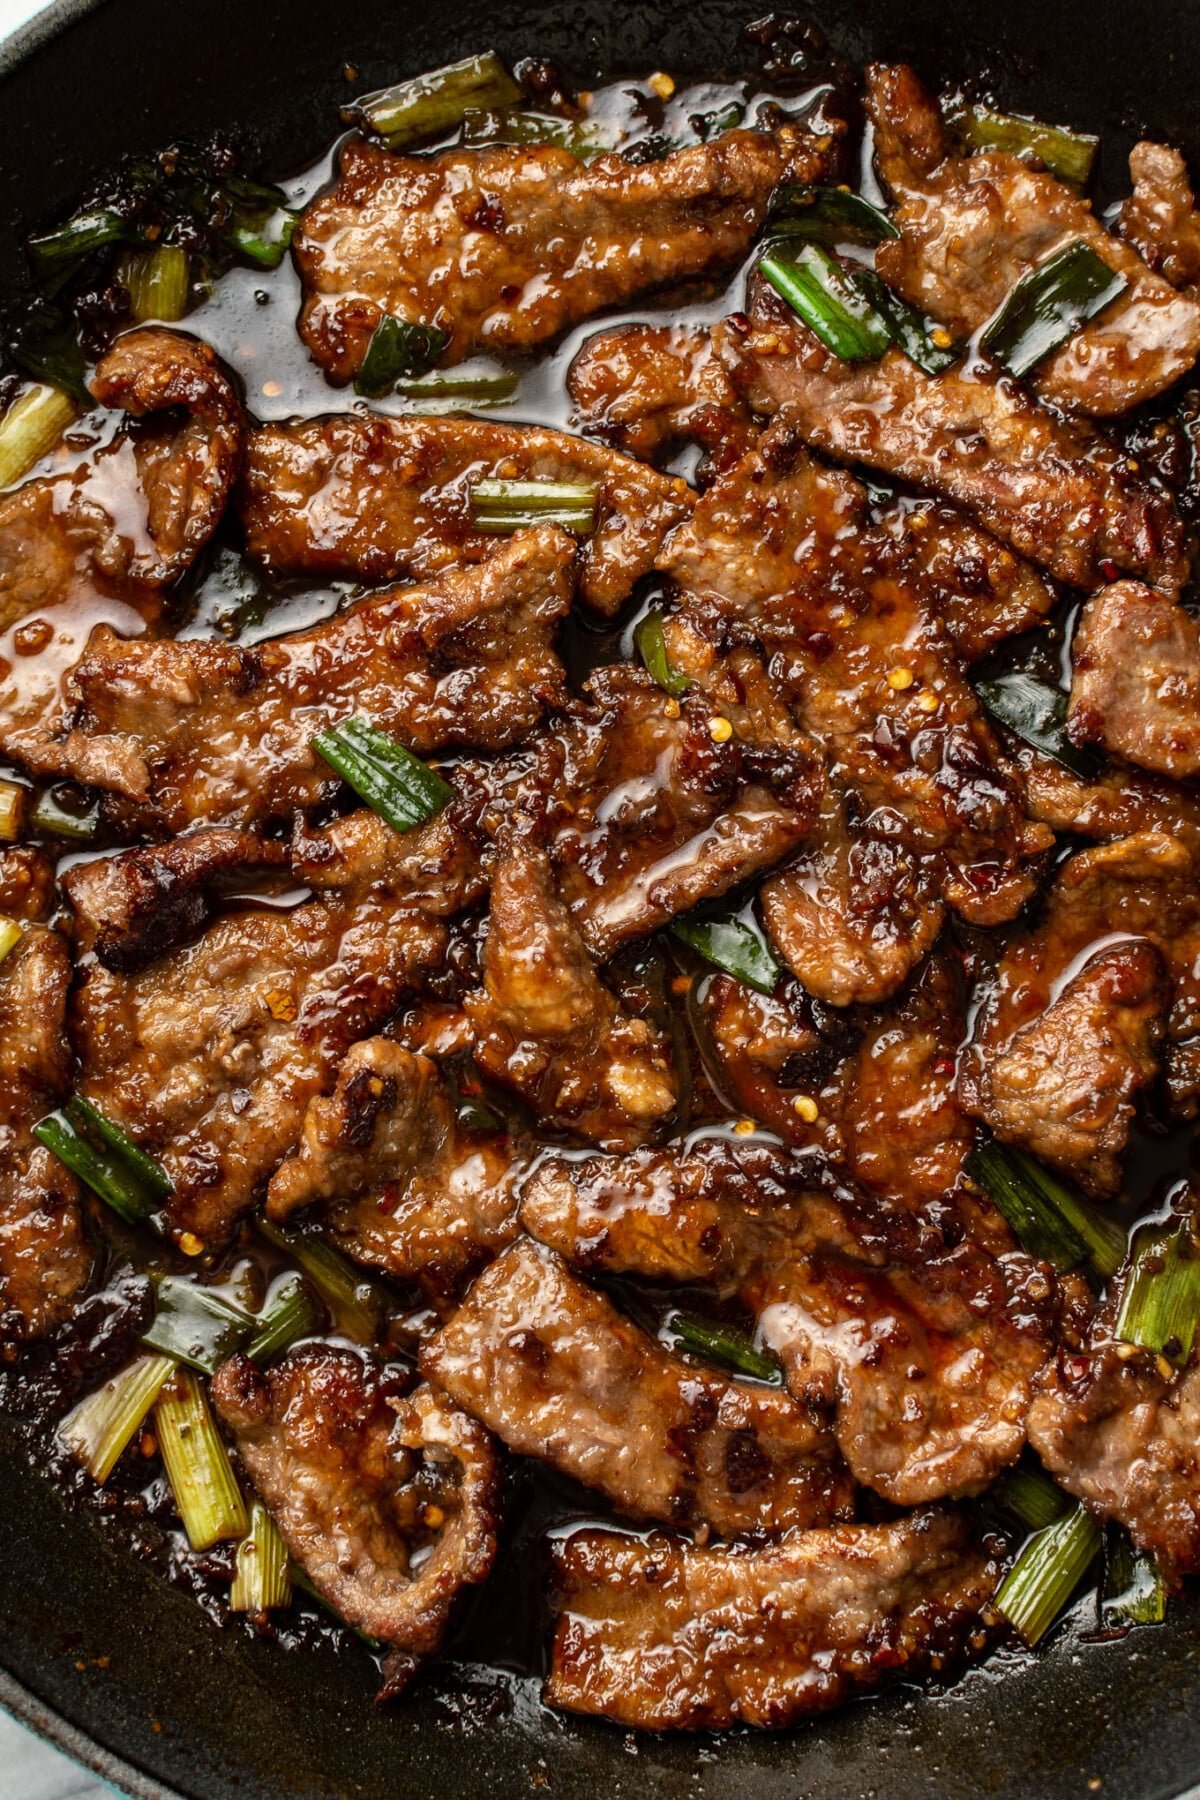
Why you’ll love it
The delicious sticky sauce in this straightforward and easy Mongolian beef recipe is made from scratch with ingredients you have in your pantry. You don’t even need a wok, so what are you waiting for!? This Asian-inspired classic is better than takeout.
I bet you’ll enjoy my homemade Mongolian beef even more than PF Chang’s! It’s inspired by them, but making this favorite is way better since you know exactly what goes into it. This family-friendly dinner is sure to go in the rotation.
What is Mongolian beef?
- It actually originated in Taiwan, so it’s not from Mongolia at all! It’s a Chinese American takeout favorite that draws inspiration from Chinese cuisine. It typically has juicy beef, onions, and a flavorful sauce with brown sugar, garlic, soy sauce, and ginger.
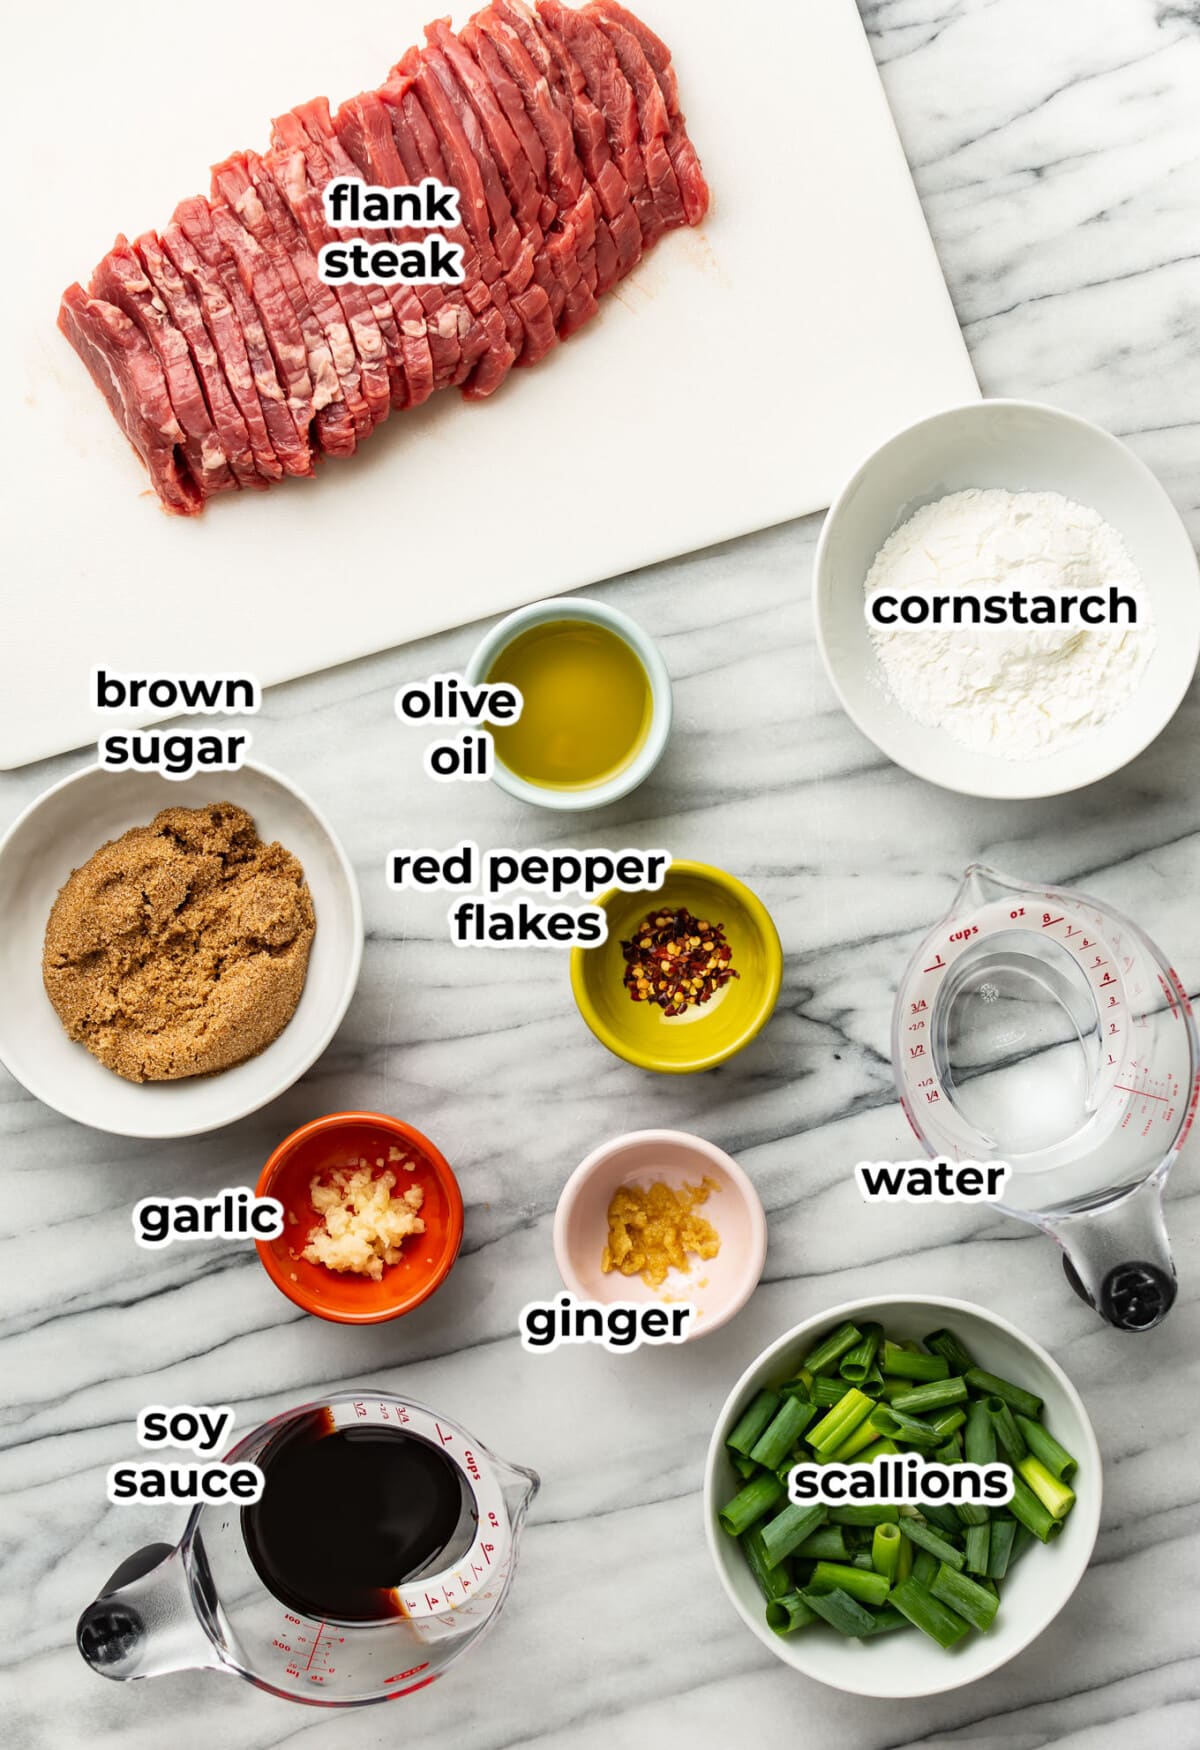
What you’ll need
- Beef – flank steak most often used since it’s a good balance between taste, tenderness, and cost
- Cornstarch – it has two purposes: to help thicken the sauce and also tenderize the meat a bit
- Olive oil – for sautéing
- Scallions – a pop of freshness
- Sauce – our best Mongolian beef sauce has brown sugar, garlic, crushed red pepper flakes (for a gentle warmth, not making it spicy), ginger, low-sodium soy sauce, and water
Tools for this recipe
Check out Natasha’s favorite kitchen essentials, gadgets, and cookware!
- My 12″ Le Creuset is perfect for this recipe.
- Storing ginger in the freezer makes it so much easier to grate! Try using a Microplane zester for ease.
- A pair of kitchen tongs and a splatter guard help this recipe go smoothly.
How to make Mongolian beef
This is an overview with step-by-step photos. Full ingredients & instructions are in the recipe card below.
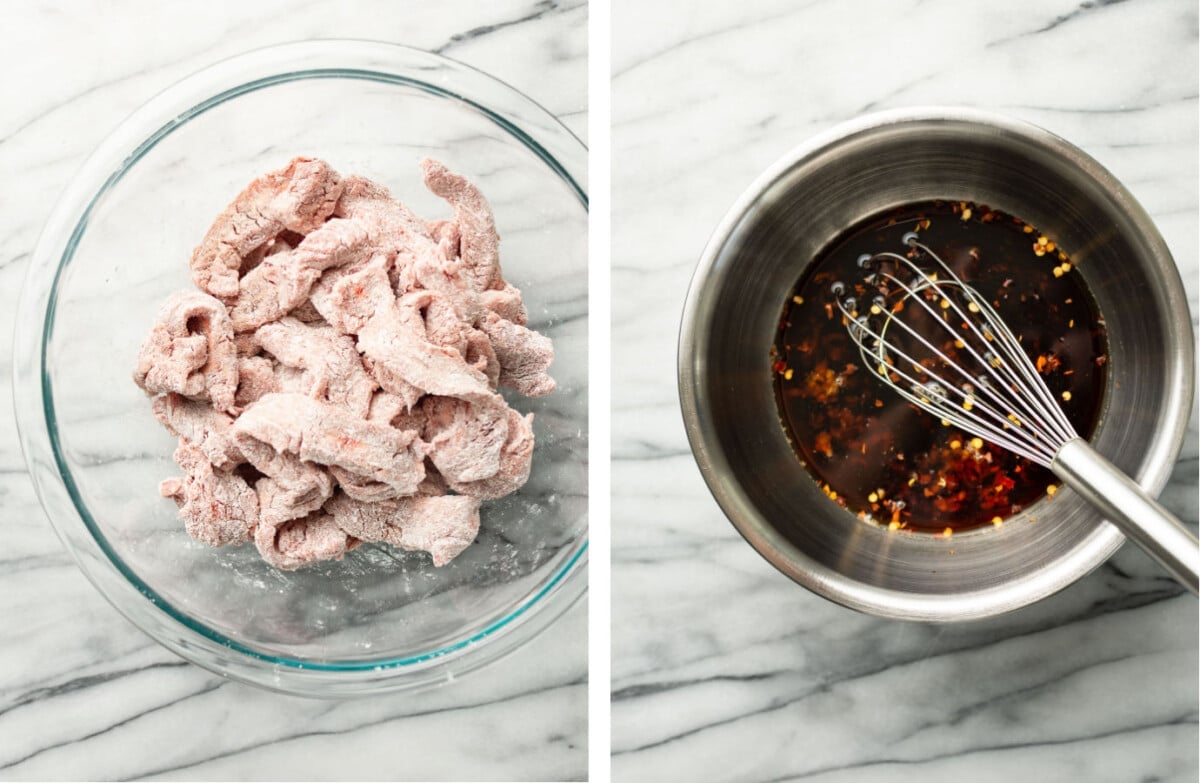
Prep the ingredients. Slice the steak into thin ribbons, and toss with the cornstarch in a bowl. In a different bowl, whisk together the sauce ingredients until combined.
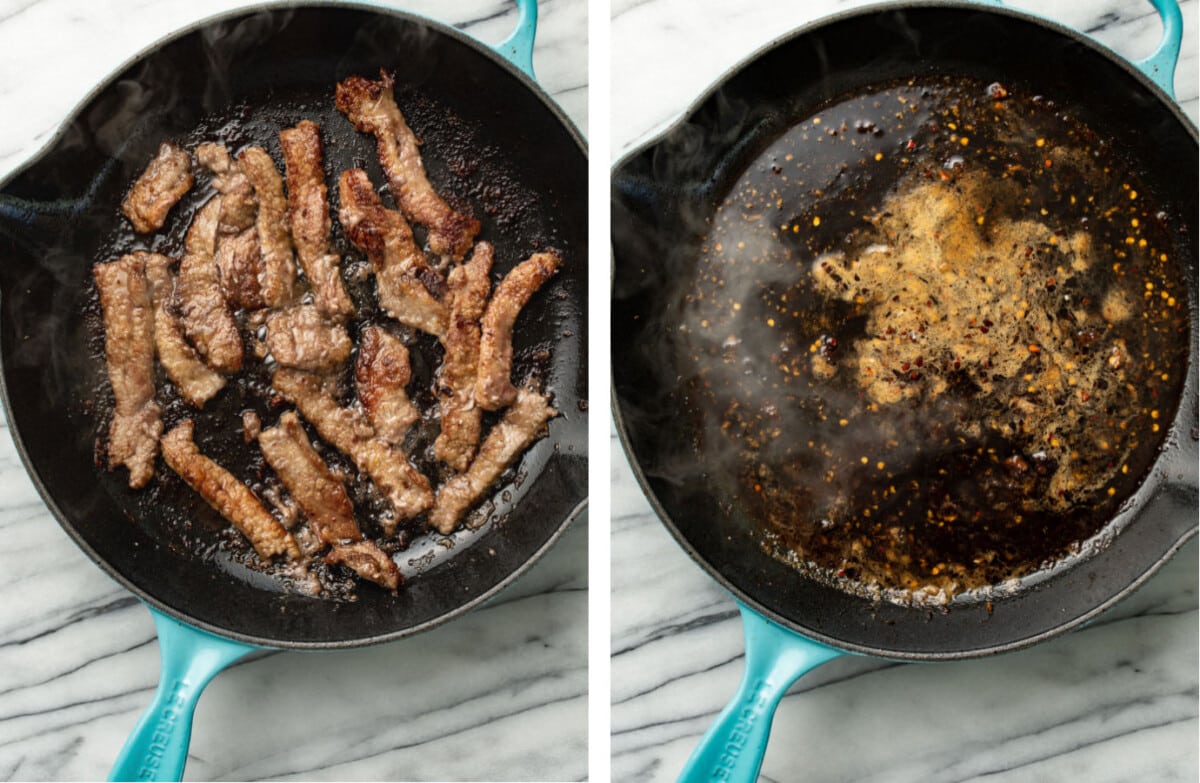
Heat up some of the oil in a skillet until very hot. Working in two batches, add half the steak. Cook for a minute, then flip and cook for another minute. Once browned, transfer to a plate. Add the rest of the oil, then repeat for the second batch of steak.
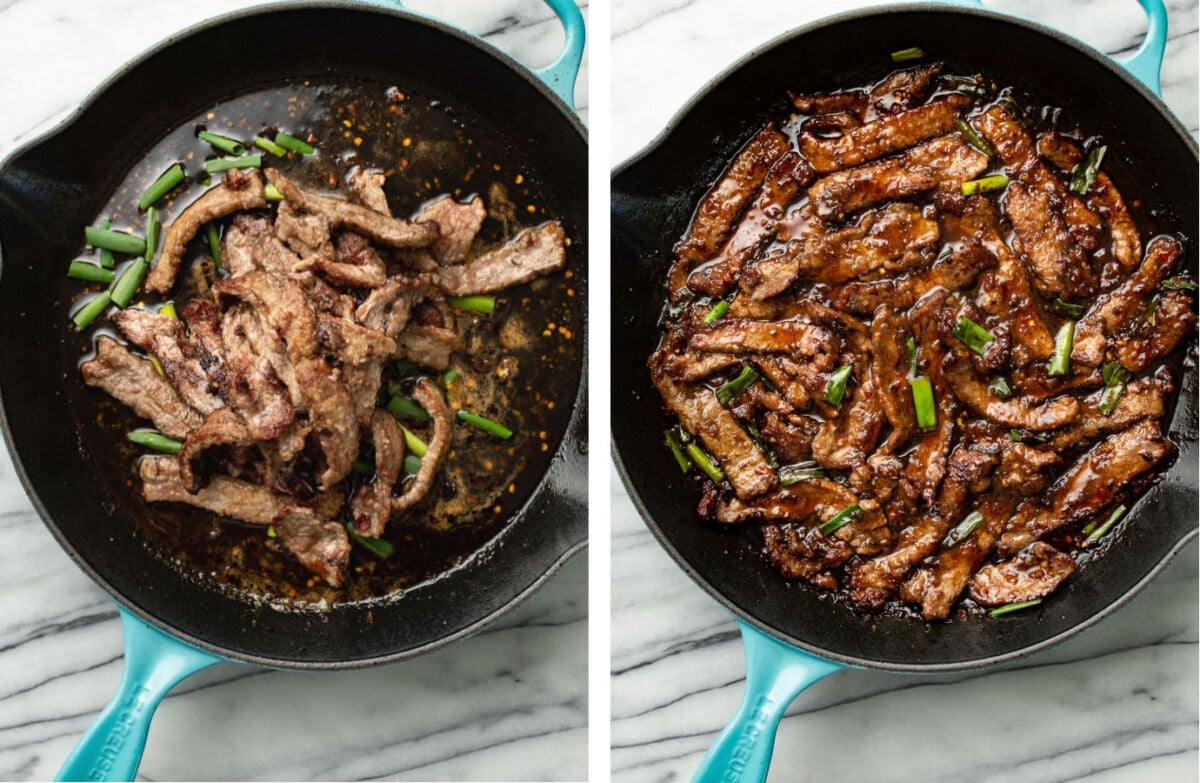
Pour the sauce into the skillet, and let it bubble while scraping up the browned bits. Add in the scallions, and return the beef. Toss with the sauce until the steak is cooked through and the sauce has thickened up.
Helpful tips
- Be sure to prep ahead of time vs. as you go along. The recipe goes quickly once you start the cooking process.
- The key to getting perfectly seared steak with a crispy crust is to not overcrowd the pan, or else it’ll steam. We’re cooking the meat in two batches. Use the largest skillet you own. A 12″ skillet works great. You can do more than two batches if needed!
- Not sure how to cut flank steak? It’s against the grain, so picture skipping across train tracks (the lines in the meat).
Substitutions and variations
- This recipe has been tested multiple times, so I recommend trying it as written prior to experimenting.
- If you prefer a little more zing, double the ginger and crushed red pepper flakes.
- Flank steak is commonly used in this recipe, but you can use skirt steak, sirloin, or New York strip steak. You want a quick-cooking steak, not stew meat. You can also try my Mongolian Ground Beef instead.
What to serve with Mongolian beef
- Mongolian beef is great served over steamed rice or noodles. I like jasmine rice best, or try chow mein noodles. My Easy Fried Rice is terrific as well.
- Stir fried veggies or Spring Rolls are a great pairing.
- I sprinkled some sesame seeds on top for garnish in the photos, but that’s totally optional!
Leftovers and storage
- It’s best fresh, but you can keep leftovers in the fridge for up to 4 days.
- Reheat slowly over a low heat in a saucepan.
- I don’t recommend freezing this one as the texture will change, but you can if absolutely necessary.
More Asian-inspired recipes
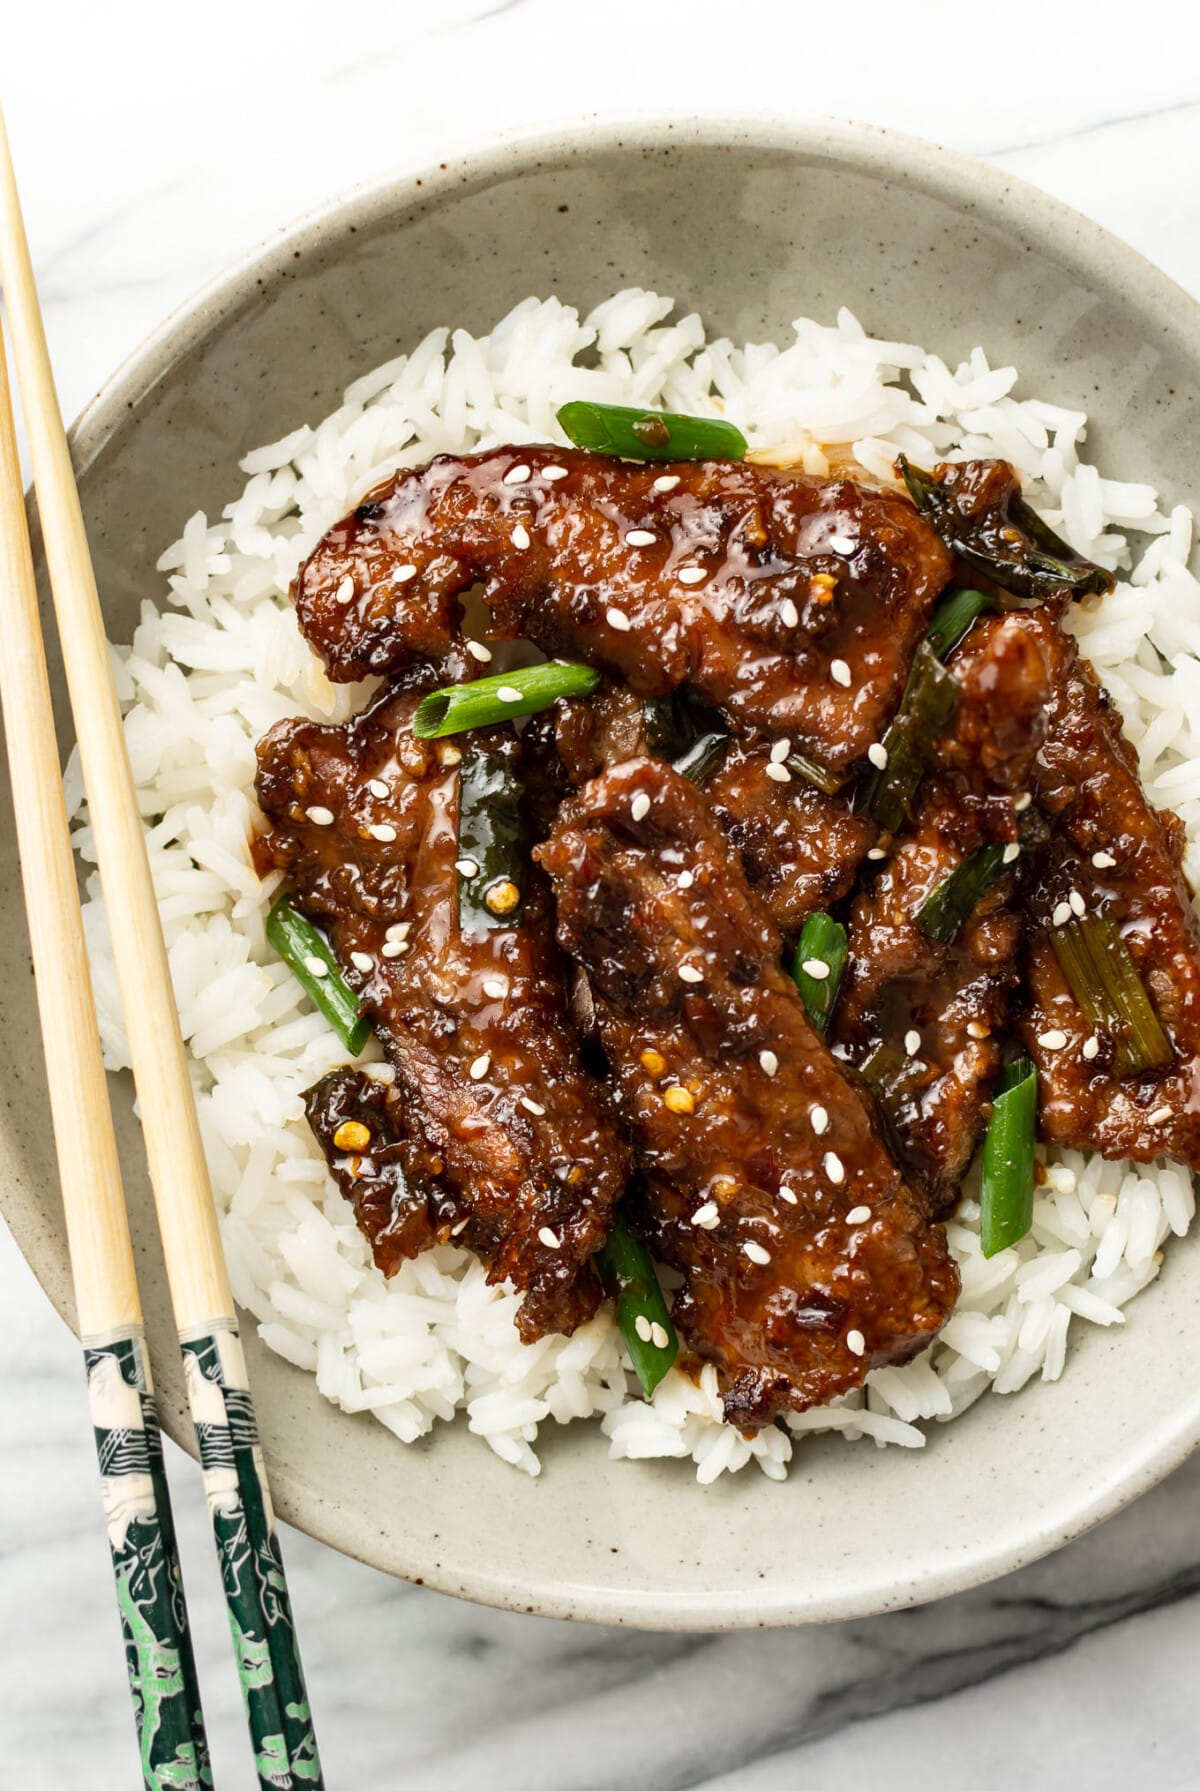
If you made this restaurant-quality Mongolian beef recipe from scratch, leave a review below! Tag me #saltandlavender on Instagram if you made this or any of my recipes.

Simple Mongolian Beef
Ingredients
- 1 pound flank steak
- 1/4 cup cornstarch
- 3 tablespoons olive oil divided
- 1 small bunch scallions (green parts only) cut into 1" pieces
Sauce ingredients:
- 1/3 cup (packed) brown sugar
- 3 cloves garlic minced
- 1/4 teaspoon crushed red pepper flakes optional
- 1 teaspoon grated fresh ginger
- 1/3 cup low sodium soy sauce
- 1/3 cup water
Instructions
- I recommend prepping all ingredients before starting this recipe as it goes fast. Slice the steak against the grain into 1/4" thick pieces, then add it to a bowl and toss it with the cornstarch.
- Add the sauce ingredients to another bowl and whisk together.
- Add 2 tablespoons of the olive oil to a large skillet (I use a 12" one) and let it heat up on your largest burner over medium-high heat until HOT (4-5 minutes on my gas stove).
- You will cook the beef in two batches to get the best browning. Add half the steak to the skillet in a single layer and let it cook undisturbed for 1 minute, then flip, using tongs, and cook for another minute. It should release easily once it's browned. Transfer to a plate. Repeat for the second batch, adding the third tablespoon of olive oil to the skillet.
- Add the sauce to the skillet and let it bubble for about 30 seconds, scraping up any browned bits from the bottom, then add in the scallions and also return the beef to the pan. Toss with the sauce and let it cook for another 1-3 minutes or until the steak is cooked to your liking and the sauce thickens up. Take the skillet off the heat and serve immediately.
Notes
- This recipe is quite family-friendly as written. If you prefer a little more zing, double the ginger and crushed red pepper flakes.
- The low sodium soy sauce should add enough salt to the recipe, but if you find it needs extra salt & pepper, simply add some at the end.
- I typically serve this recipe with rice, but that’s optional! I measure out 1 cup of uncooked rice to serve 4, but feel free to make as much rice as you normally do. Start the rice before the beef so that it’s ready at the same time.
Nutrition
Nutrition information is automatically calculated, so should only be used as an approximation.
© Salt & Lavender Inc. Content and photographs are copyrighted. Sharing this blog post is much appreciated, but copying and pasting full recipes without authorization to social media is strictly prohibited.


This Mongolian Beef recipe is perfect!!!! I usually scale it for 1/2 size order, them I kick myself for not making a full recipe.
I do velvet the beef first…. it takes time, but the result it so worth it!
Thanks Natasha.Your recipes always come out great.
Aww thank you, Karen!!!
Very easy and yummy! I added string beans to it and made sure to not overcook them and loved that fresh crunch. Will definitely make this again.
Thanks, Patty!!
This is so good! Easy to make and so flavorful!! The beef had a nice texture from the cornstarch and browning in the pan. I served it over Jasmine rice. Will definitely make again and again.
Thanks for your review, Angela!
A long time favorite!
Thank you so much, Marc! 😀 Glad to hear that!
I made the Mongolian Beef recipe with only one modification. Since most restaurant versions I’ve eaten also had onions, I added a half onion sliced into strips and added them into my pan one to two minutes before adding the sauce and returning the beef to the pan. It worked out great. I also used 5 entire scallions. I sliced the whites in half. I was very pleased with the dish. Our family loves garlic so next time I’ll double the garlic and the ginger. I’ll cut back a bit on the sugar as this seemed a bit sweet.. This will be a new go-to recipe for me.
I’m so glad you enjoyed it, Brent!! 😀
Would you suggest “Velvetizing” beef with baking soda if using tough cheap beef cuts?
Yes
this is the recipe I always use to velvet beef. The meat turns out melt in your mouth tender.
I made the Mongolian Beef recipe with only one modification. Since most restaurant versions I’ve eaten also had onions, I added a half onion sliced into strips and added them into my pan one to two minutes before adding the sauce and returning the beef to the pan. It worked out great. I also used 5 entire scallions. I sliced the whites in half. I was very pleased with the dish. Our family loves garlic so next time I’ll double the garlic and the ginger. This will be a new go-to recipe for me.
Yay!! Thanks, Brent!
One of my family’s favorites!
Thanks, Dana! 😀