This post may contain affiliate links. Please read our disclosure policy.
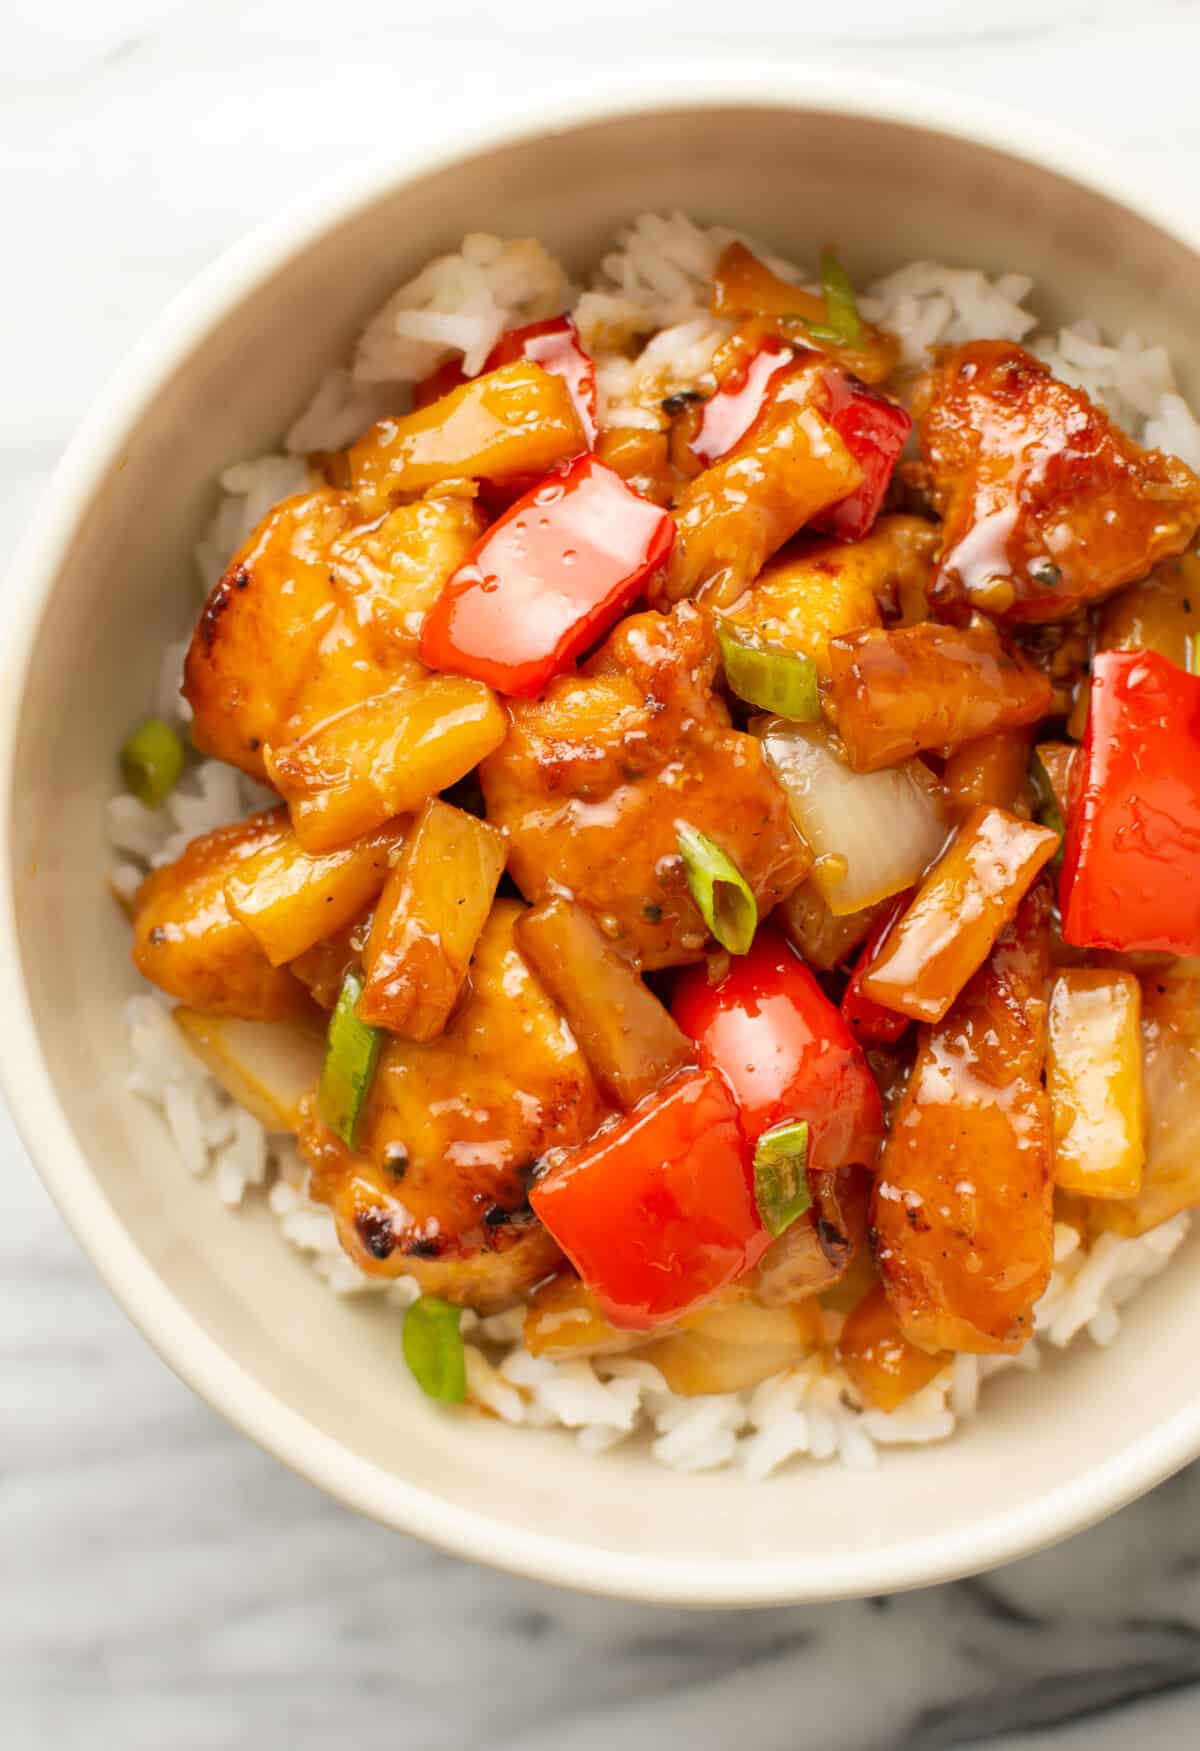
This pineapple chicken stir fry recipe has a deliciously sweet and tangy sauce that perfectly coats the tender chicken, pineapple, and veggies. It costs less than takeout!
You may also like this Ground Pork Stir Fry with a pineapple ginger sauce or my crispy Easy Orange Chicken.
Why you’ll love it
This Chinese-style chicken stir fry is a really fantastic option for picky eaters. There’s a bright, sticky, sweet, and savory pineapple sauce along with golden, crisp chicken bites. It’s ready in just over half an hour, meaning it’s faster than picking up takeout and fresher too!
This sticky pineapple chicken is one of those takeout fakeout type recipes that is genuinely comparable to the real deal, and it’s far more affordable. You can also control exactly what goes into it, so you can feel good about serving this for your family any weeknight.
What you’ll need
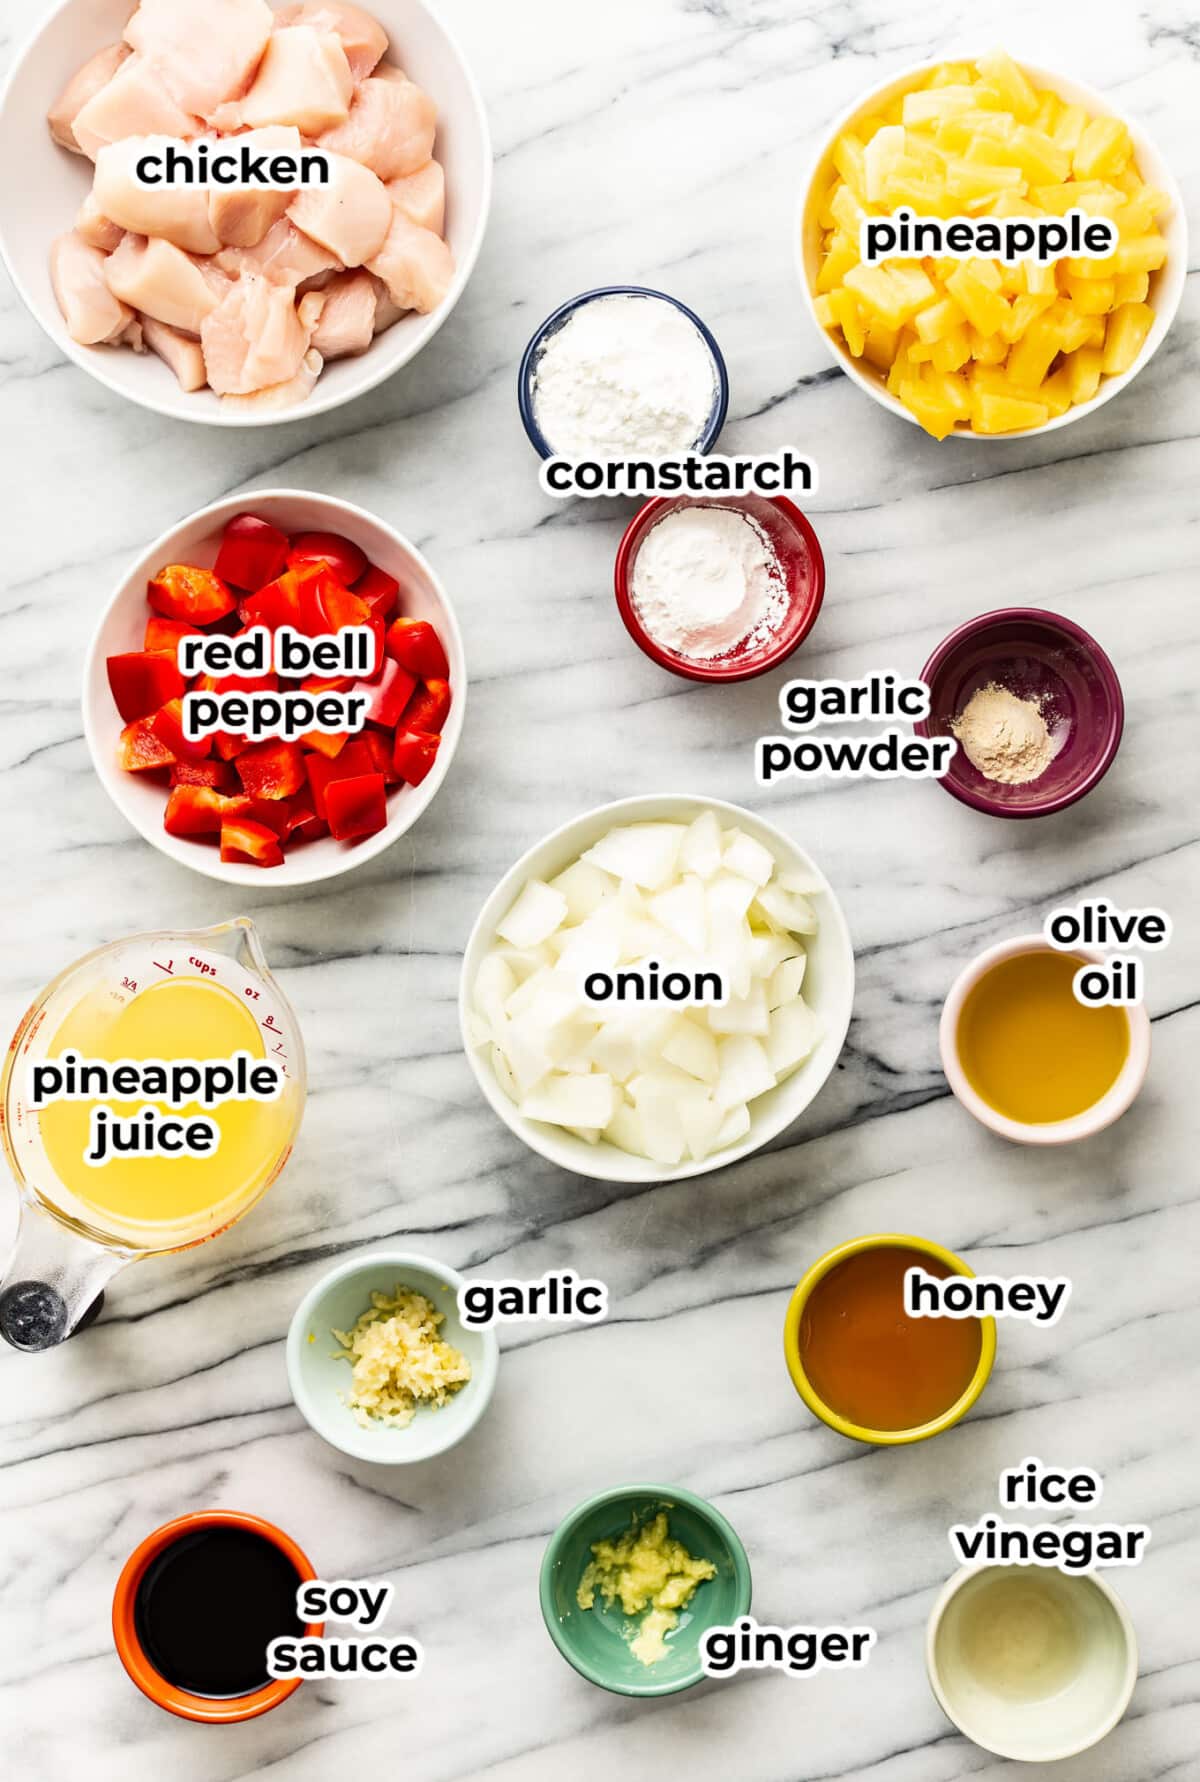
For the stir fry
- Chicken – we’re using two boneless, skinless chicken breasts cut into bite-sized pieces
- Garlic powder and pepper – to infuse the chicken directly with flavor
- Cornstarch – it’s what gives the chicken that browned, crispy exterior and tender inside when pan seared
- Olive oil – for stir frying
- Pineapple – we’re using unsweetened canned pineapple tidbits packed in juice
- Red bell pepper and onion – for some added crunch. I like using sweet (Vidalia) onions, and you can use any color of pepper
For the sauce
- Pineapple juice – it comes in the cans of pineapple and forms the base of the sauce
- Honey – for a hint of sweetness and balance
- Soy sauce – we’re using regular, but you can use low sodium if that’s a consideration
- Rice vinegar – for a little tang and acidity. Apple cider vinegar works fine too.
- Ginger – fresh ginger adds a zip and whole other layer to the sauce
- Garlic – for more savory flavor
- Cornstarch – it thickens up the sauce
Tools for this recipe
Check out Natasha’s favorite kitchen essentials, gadgets, and cookware!
- I like to keep ginger in my freezer, believe it or not, and it grates amazingly from frozen with a Microplane.
- Here is the skillet I like to use for my stir fry recipes and this splatter guard for easy clean-up.
- I use cooking tongs to flip the chicken easily and an instant read meat thermometer to ensure it’s 165F.
How to make pineapple chicken
This is an overview with step-by-step photos. Full ingredients & instructions are in the recipe card below.
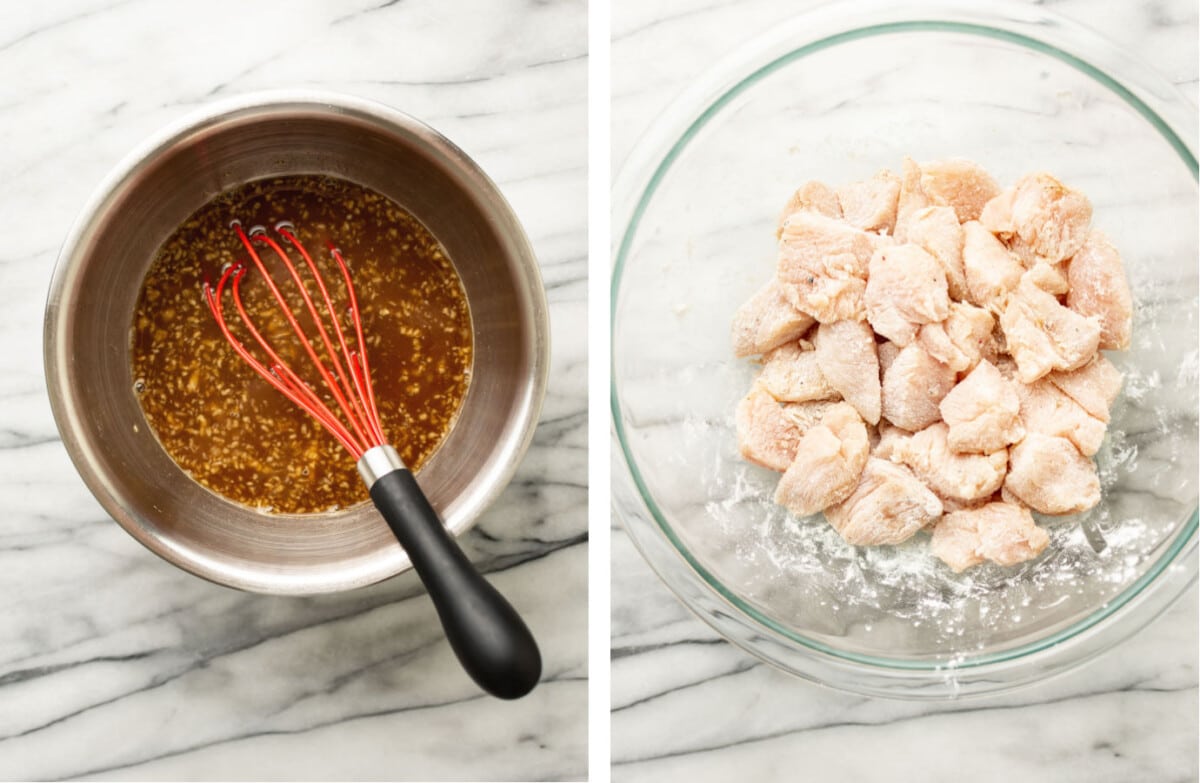
Mix the sauce ingredients together in a small bowl, then set aside. Chop the veggies. Cut the chicken into bite-size pieces and coat them in the garlic powder, pepper, and cornstarch.
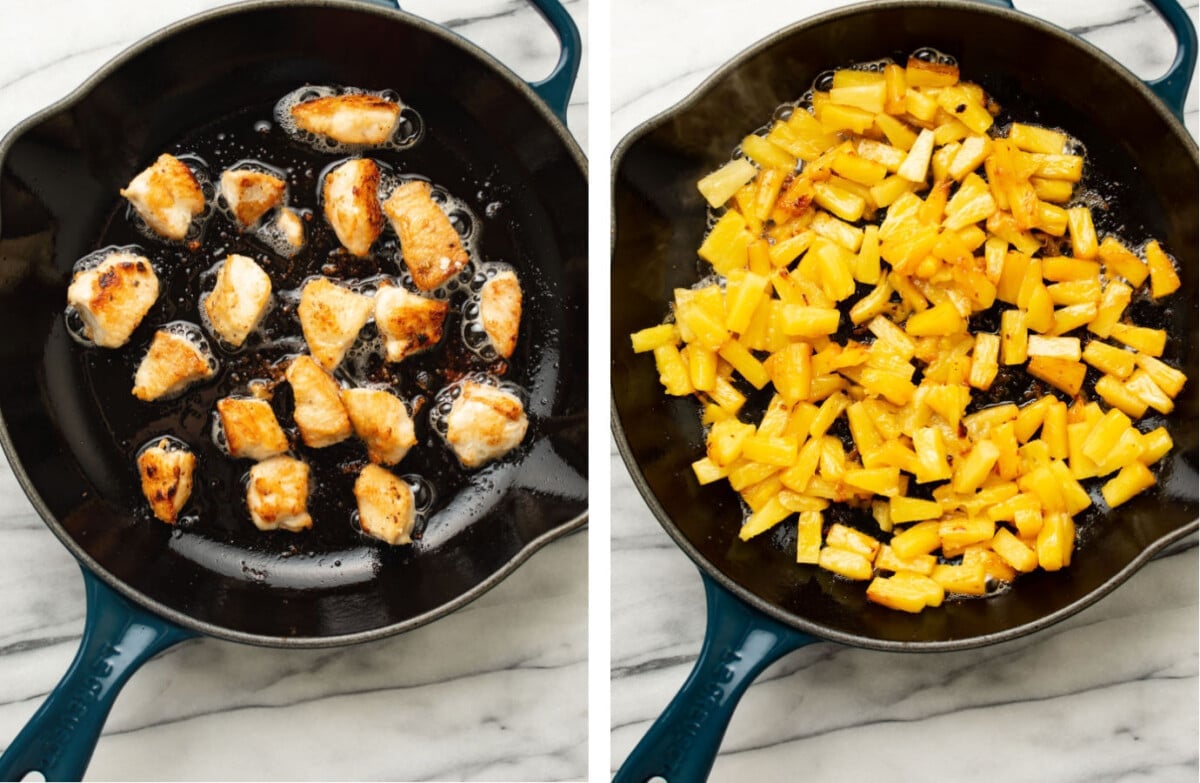
Pan fry the chicken in olive oil in two batches in a skillet. That way it’ll brown up nicely and won’t steam by being too crowded. Transfer to a plate once cooked to 165F. In the skillet, stir fry the pineapple.
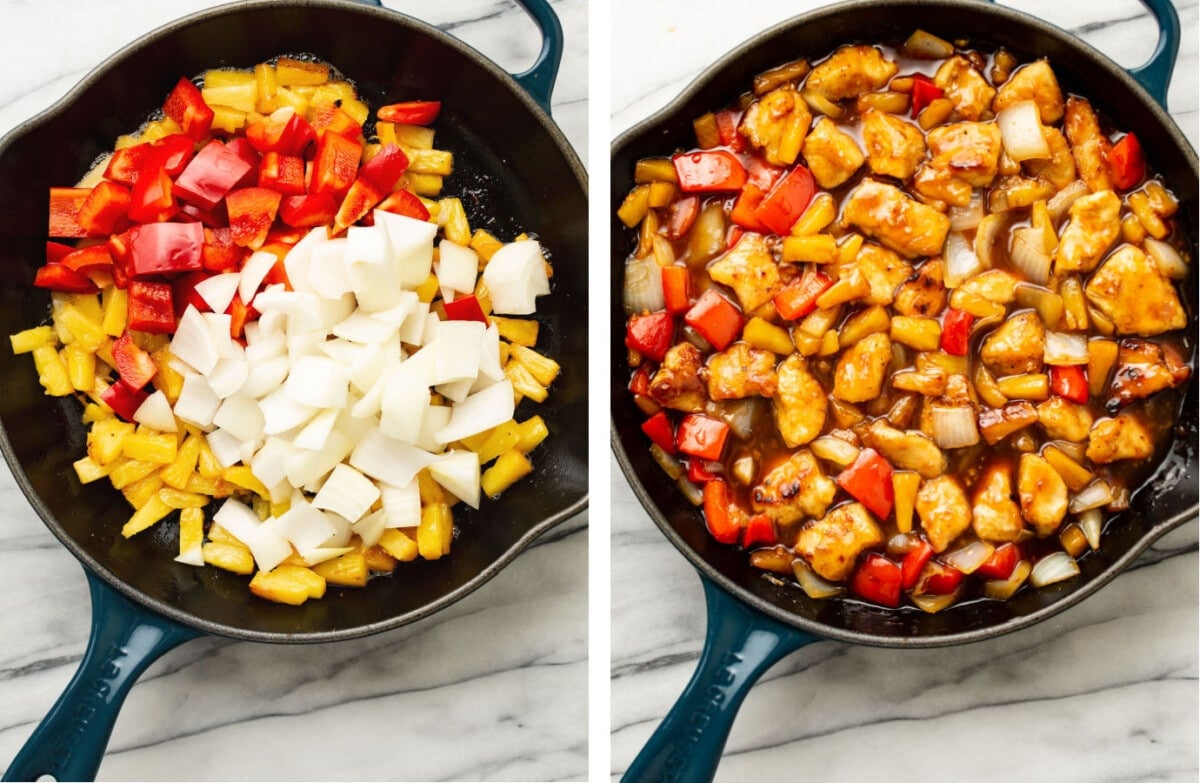
Add in the veggies, and cook until tender-crisp. Return the chicken back to the pan. Pour in the sauce, and let it bubble until thickened. Garnish with scallions if desired.
Pro tips
- As with any stir fry, I highly recommend prepping everything before you even turn on the stove, including making the sauce and chopping all the veggies. The cooking part goes quickly, so you don’t want to be caught scrambling!
- Love tons of sauce? Go ahead and double the sauce ingredients.
- It’s important to keep a pretty high heat to get a good sear on the chicken and veggies when cooking this stir fry.
Some notes on the pineapple
- This recipe does have a fair bit of pineapple, so feel free to use a bit less if you want. The pineapple juice in the sauce is from the cans of pineapple. Two 8-ounce cans or one 20-ounce can should have enough juice, but if it isn’t enough, just top it up with water until you reach the 3/4 cup needed for the recipe.
- You can use fresh pineapple, but you’ll likely need to buy pineapple juice separately for the sauce if you go that route. The good news is that it comes in convenient cartons you’ll find at your grocery store too.
Substitutions and variations
- You can definitely play around with this one. Use your favorite veggies! Just make sure they’re cut roughly the same size. Readers have added in everything from broccoli to sugar snap peas to cashews.
- Add in some crushed red pepper flakes or sriracha for heat.
- Feel free to swap the chicken breasts with chicken thighs.
- If you want the sauce to be a little less sweet, cut the honey down from the 3 tablespoons to 1.5 to 2 tbsp.
What to serve with pineapple chicken
- I love serving it over a bed of long grain white rice, specifically jasmine rice. It’s just so tasty with that sticky sweet sauce. Brown rice would be great as well.
- Noodles work too! Use your favorite stir fry noodle. I like Udon, but the kind you get in those instant ramen noodles (without the seasoning packet) are good too.
- If you’re not feeling the carbs, go ahead and serve this on lettuce wraps.
Leftovers and storage
- Store this pineapple chicken for 3-4 days in the fridge in an airtight container.
- Reheat slowly over a low heat in a saucepan until warmed through. I’d make fresh rice or noodles to serve with any leftovers.
- I don’t recommend freezing this one. The texture, especially the veggies, will change.
More Asian-inspired recipes
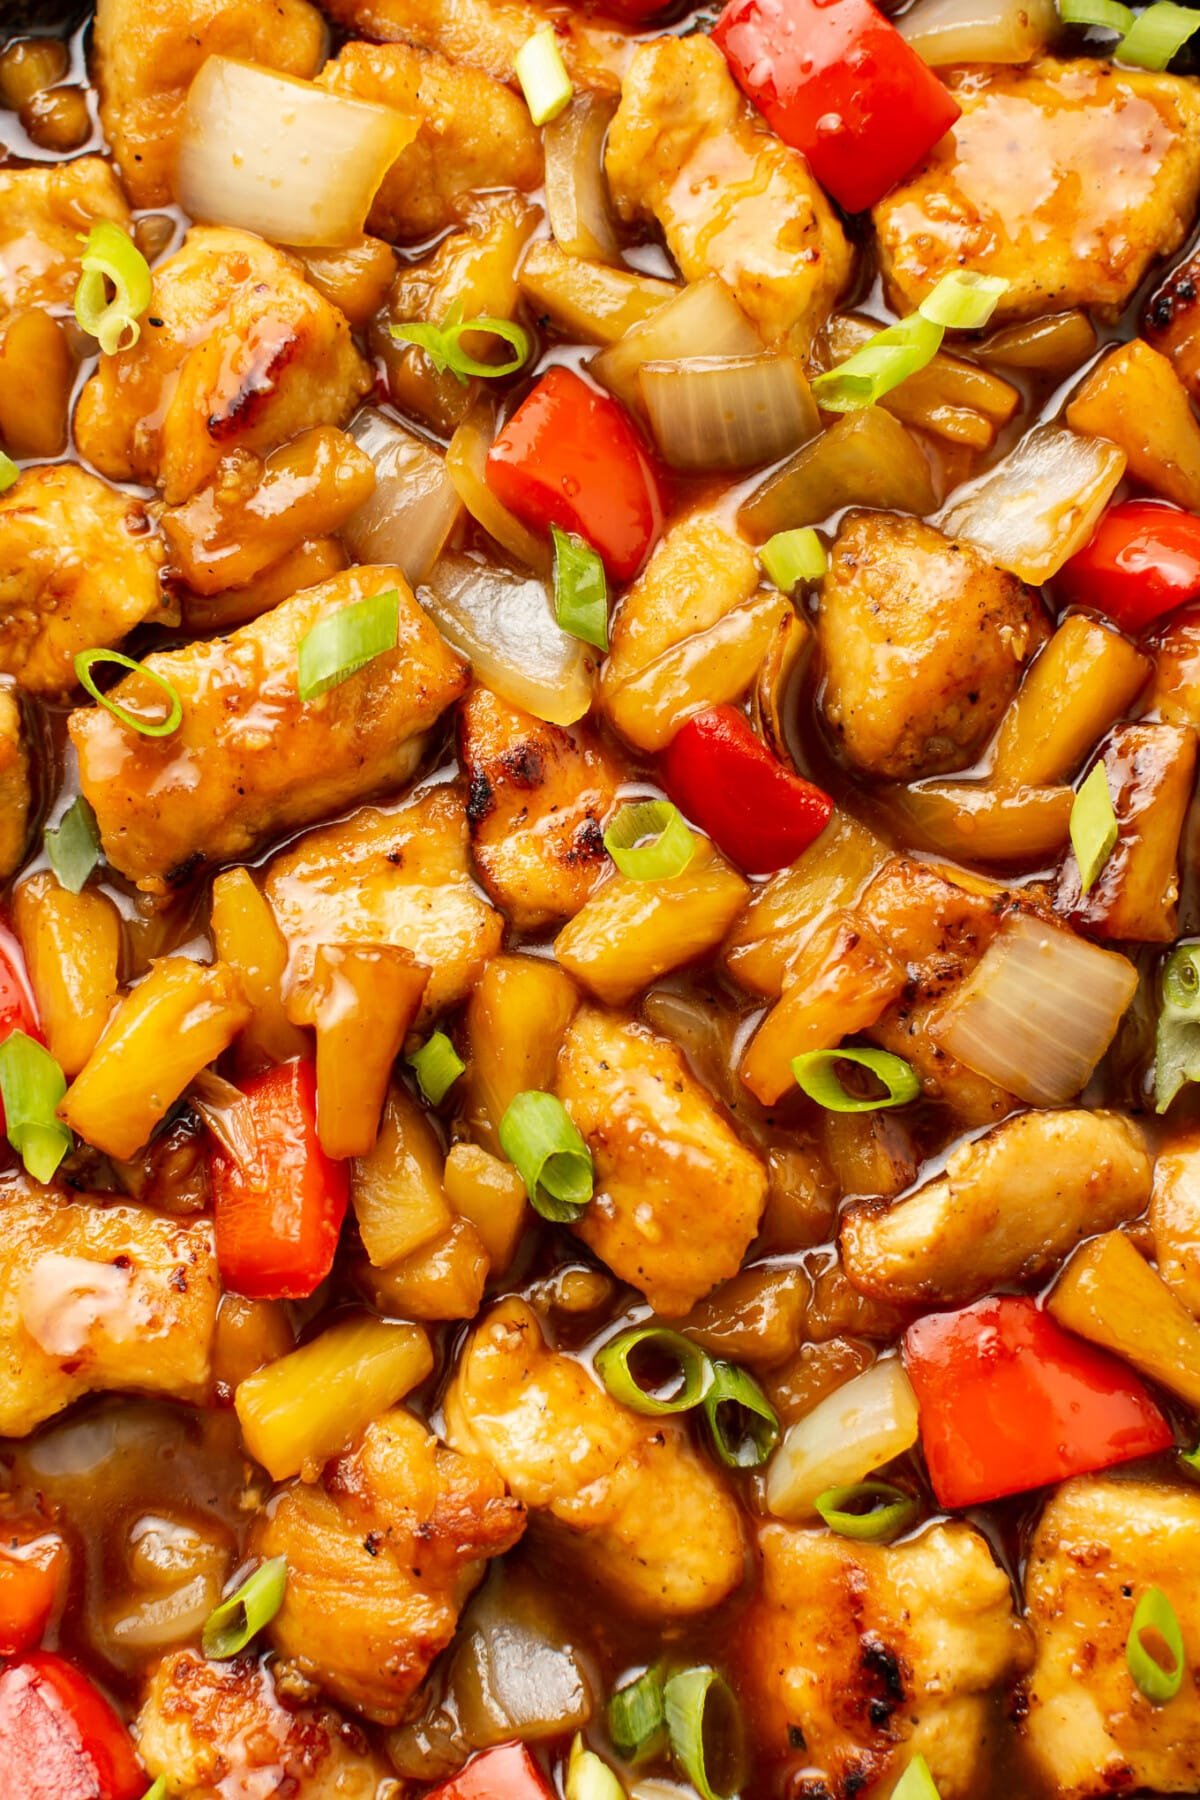
If you made this easy pineapple chicken recipe, leave a star rating and review below! You can also tag me #saltandlavender on Instagram if you made this or any of my recipes.
Pineapple Chicken (Asian Style)
Ingredients
- 2 chicken breasts cut into 1" pieces
- 1/2 teaspoon garlic powder
- Pepper to taste
- 3 tablespoons cornstarch
- 3 tablespoons olive oil divided
- 2 (8 ounce) cans pineapple tidbits or chunks drained (but reserve 3/4 cup juice for the sauce)
- 1/2 red bell pepper cut into bite-size pieces
- 1/2 medium onion sliced or cut into bite-size pieces
Sauce:
- 3/4 cup pineapple juice (from the canned pineapple)
- 3 tablespoons honey
- 2 tablespoons soy sauce
- 1 teaspoon rice vinegar (or apple cider vinegar)
- 1 teaspoon fresh ginger grated
- 2 cloves garlic minced
- 1 tablespoon cornstarch
Instructions
- Add the sauce ingredients to a small bowl. If you don't have quite enough pineapple juice to make 3/4 cup, just top the rest up with water. Whisk until smooth.
- Prep your veggies.
- Cut the chicken into 1" pieces and add them to a bowl. Toss them with the garlic powder and some pepper. Add the cornstarch and toss until coated.
- Add 2 tablespoons of olive oil to a deep skillet over medium-high heat. Let the pan heat up for a few minutes. Cook the chicken in two batches (don't crowd the pan). Cook the chicken for 4 minutes and then flip (I use tongs to do this quickly) and cook for another 3-4 minutes or so. Chicken should be browned and cooked through (165F). For the second batch, I add another tablespoon of olive oil to the pan. Transfer each batch of the chicken to a plate when it's done.
- If the pan is dry, add a small splash of olive oil (a teaspoon or so), and then add the pineapple. Let it cook without stirring it for about a minute.
- Stir in the peppers and onions and cook for another 3 minutes or so, stirring occasionally. Veggies will be tender-crisp. You can cook for a little longer if you wish.
- Add the chicken back to the pan and then stir in the sauce. Let it bubble until it's thickened (about 1-2 minutes), then take the pan off the heat and serve immediately over rice or noodles.
Notes
- I buy the canned pineapple that’s unsweetened (packed in its own juice).
Nutrition
Nutrition information is automatically calculated, so should only be used as an approximation.
© Salt & Lavender Inc. Content and photographs are copyrighted. Sharing this blog post is much appreciated, but copying and pasting full recipes without authorization to social media is strictly prohibited.
This recipe was originally published on July 4, 2020. It’s been updated with new photos and better instructions but is the same great recipe!


I loved this recipe. It was delicious.
Thanks, Aileen!
Excellent,! WILL MAKE AGAIN!
Great! Thank you!
Perfect dinner, lots of flavour and the whole family loves it. Will definitely make this again and again!
Yay! Thank you!
Nevermind. I found i after all the gazillion advertisements!
Hi Jasmin. Without the ads there would be no free recipes for you. They pay the salaries of the people who develop the recipes, grocery shop, test the recipes, do the dishes, photograph the recipes, edit the photos, write up the blog posts, promote the recipes so people can actually find them, reply to reader comments, work on the back-end of the website, and so on. I have a hardcover cookbook you can purchase if you want to skip the ads.
This recipe was so easy to follow and the results were amazing! My family and I loved this dish. I will definitely make this dish again and again! So tasty! Thank you 🤩🤩🤩
Lovely! You’re very welcome, Fiona! 😀
I responded & before I could finish, it disappeared ? Great job on the recipe & will make this over & over. A couple tweaks…DELICIOUS! The NAYS ? I say no worries, the prep takes longer than the finish. Salt the chicken, extra garlic & don’t be afraid to change the veggies out. Great dish ! Not complicated!
And taste your sauce before you serve ! 👍👍👍👍👍
Glad you liked it! Thanks, Wendy!
This was sooooo good!!! My husband loved it, as did I. I added a little Sriracha because we like spicy. I also added Cashews and Broccoli for a little extra nutrition. It really could not have been any better. Delicious!!! Will be making this over and over…..
Excellent!! 😀
My Husband loved it😃
Awesome!! 😀
I absolutely loved it! Planning on when to make it again!
Awesome!! 😀 Thanks, Gina!
I have not tried this yet but was wondering if I could use rotisserie chicken? We are a household of two so always have left over chicken. I like the sound of this but am always looking for recipes for leftovers. Thanks.
Hi Judy! You could but just add it in right at the end so it doesn’t overcook. But it won’t have that same crispy kinda coating without coating it in cornstarch and frying it. I do have lots of recipes with rotisserie chicken on here, though.